投稿日: 2026年 10月 17日
モデル情報
| モデル | Sopwith F.1 Camel (BR.1) |
| スケール | 1/48 |
| シリーズ | |
| メーカー | Eduard |
| 発売年 | 2021 |
| キット番号 | 82171 |
購入情報
| 日 | 2025年 10月 18日 |
| 値段 | €19,60 |
| 店 | Eduard |
| 購入場所 | SMC (Scale Model Challenge) 2025 |
| 場所 | ヴェトホーフェン、オランダ |


ソッピース キャメル
この航空機はSopwith Aviation Companyによって製造され、第一次世界大戦においてイギリス軍により使用されました。
キット
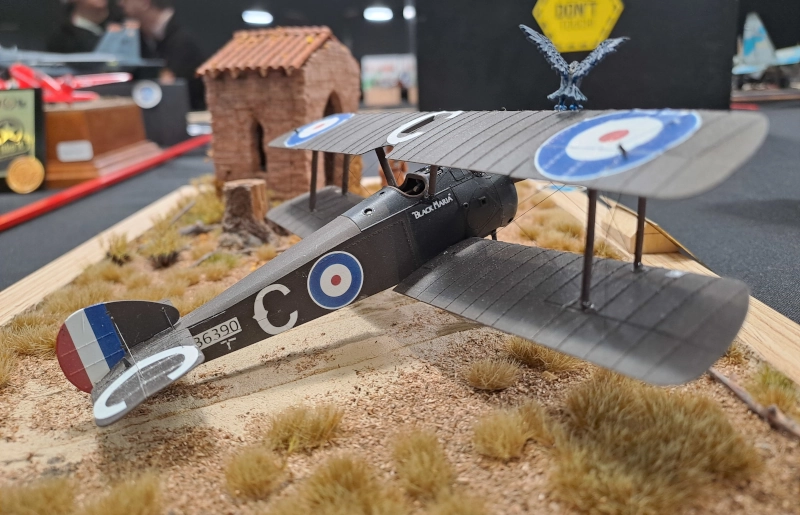
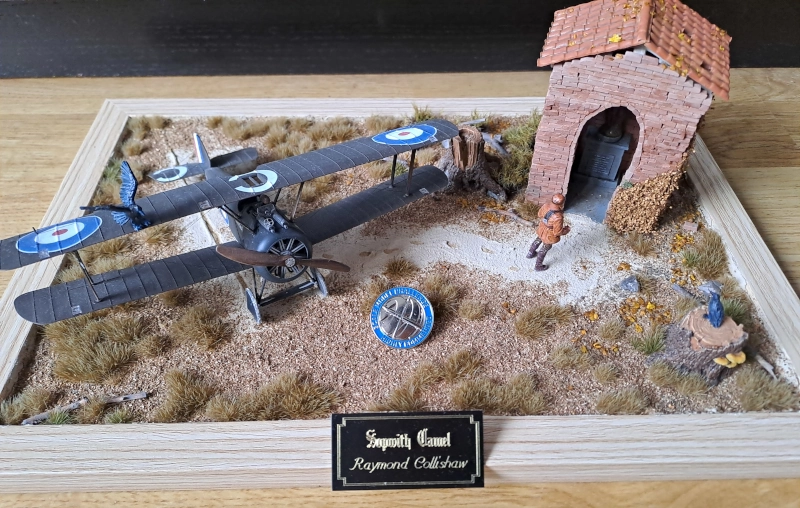
このキットは、2025年にオランダのフェルトホーフェンで開催されたScale Model Challenge(SMC)のEduardで買いました。私が所有しているのはF.1型で、Bentley BR.1エンジンを搭載しています。また、カナダ人パイロットのRaymond Collishawが使用した「ブラック・マリア」を作ります。
塗料
- Mr. Hobby - C42 マホガニー
- Mr. Hobby - C43 ウッドブラウン
- Mr. Hobby - C45 セールカラー
- Mr. Hobby - C125 カウリング色
- Mr. Hobby - GX101 クリアブラック (影)
- Vallejo - 72.051 Game Color - Black (石油はね, 機関銃)
- Vallejo - 72.052 Metallic - Silver (機関銃の辺)
- Vallejo - 72.055 Metallic - Polished Gold (航空計器)
- Vallejo - 72.071 Game Color - Barbarian Skin (機関銃の持ち手)
- Rembrandt - 403 VanDyke Brown (木目調の油彩塗料)
(でも、高いRembrandtの塗料を買わないでください。絵画の塗料です)
写真


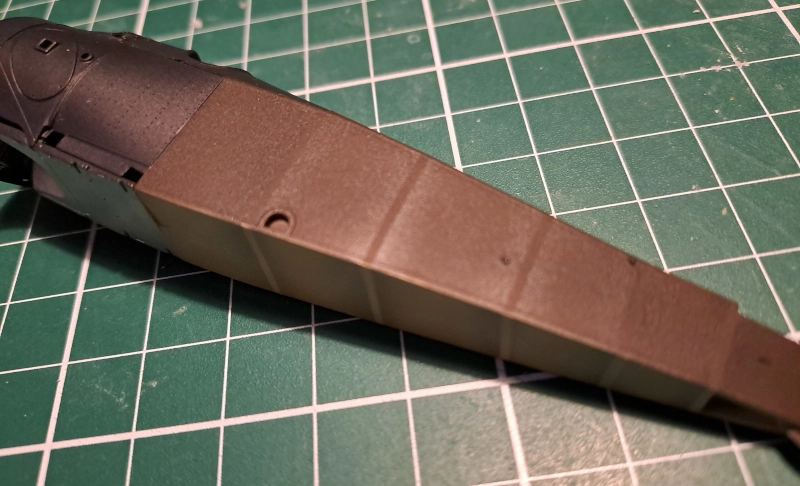
I think I overdid the amount of shadow, the contrast is too much. But because it is the underside, that may not be too bad, so I left it like this.


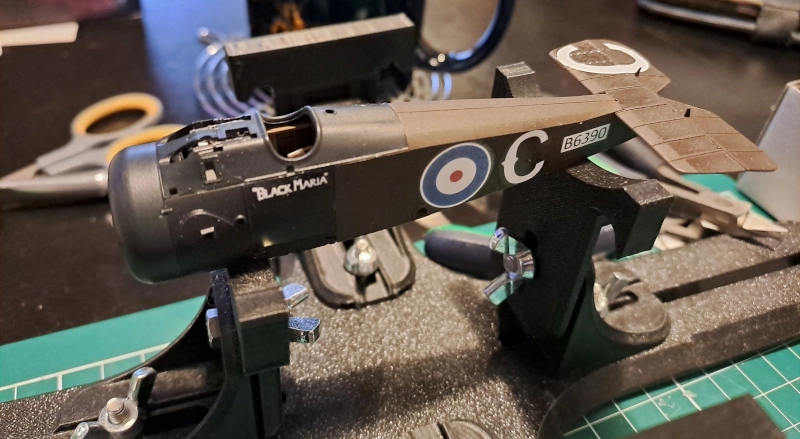
I made a mistake, because I decided to shade the underside of the fusilage. This is to simulate where wooden planks should be. After paining the dark brown on the sides, I noticed that the model already suggests where these planks should be. These did not line up with my randomly placed shadows, so I had to repaint the underside and mask again using a single tape for the sides and underside.




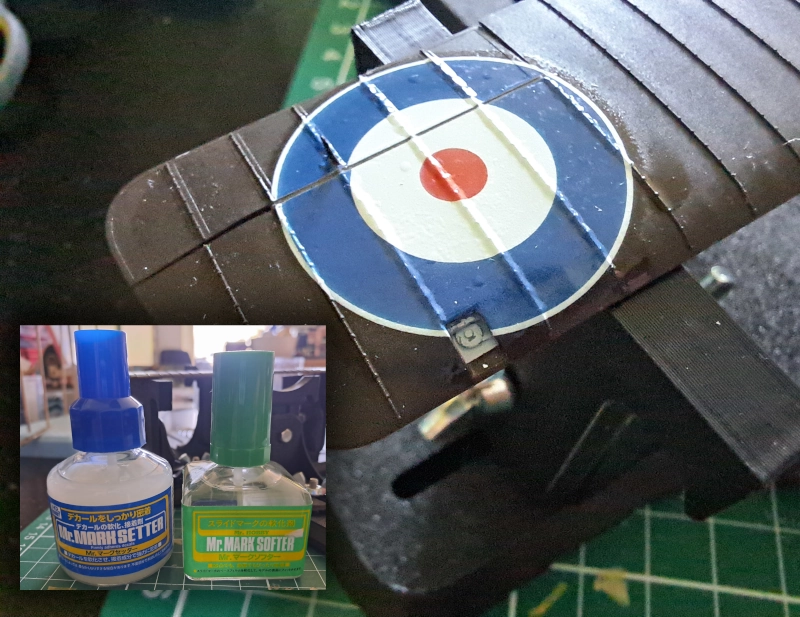

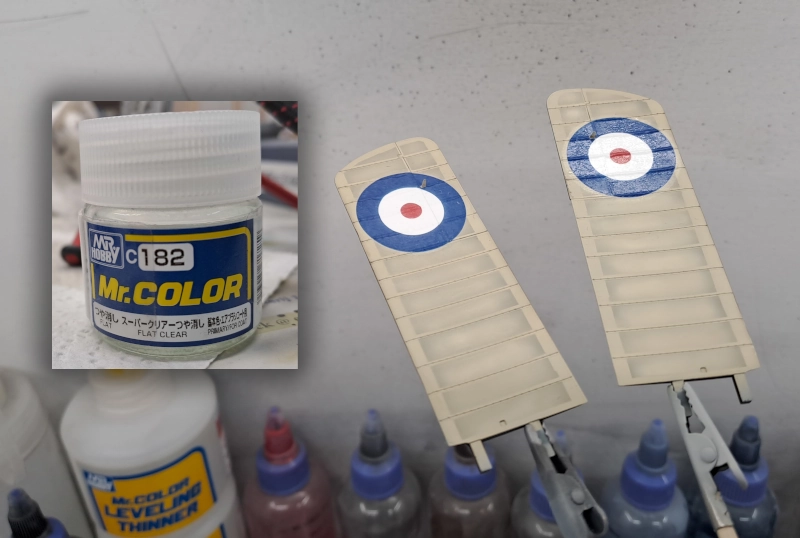
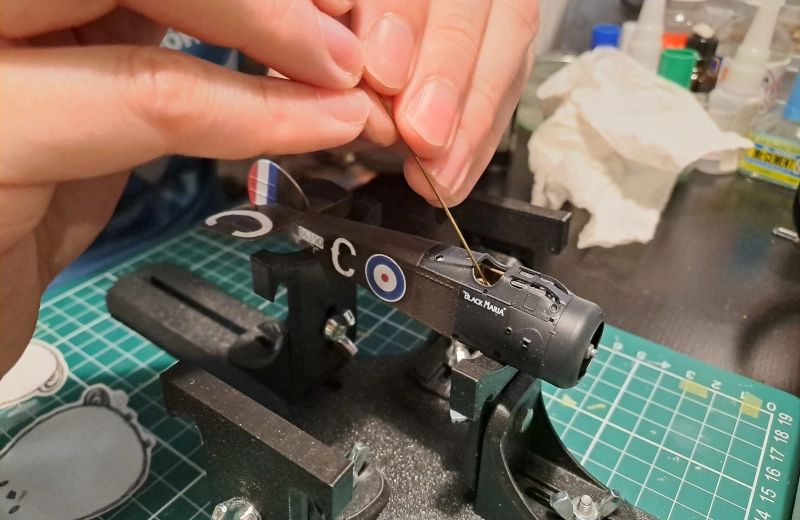
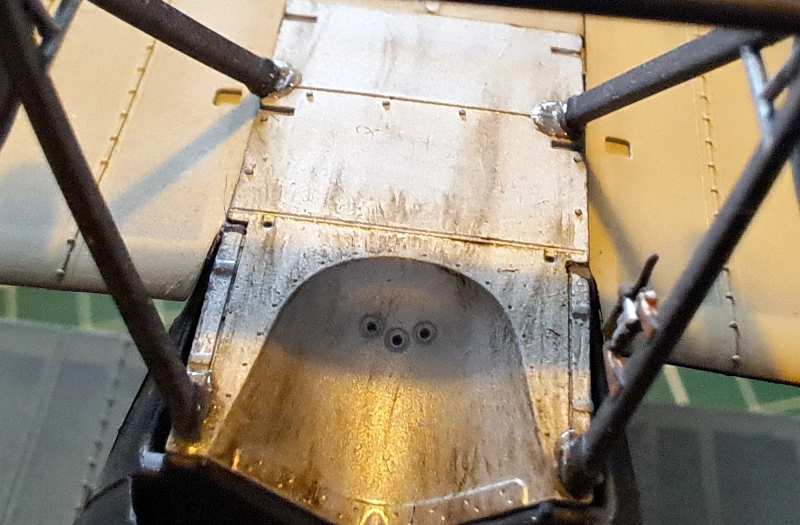
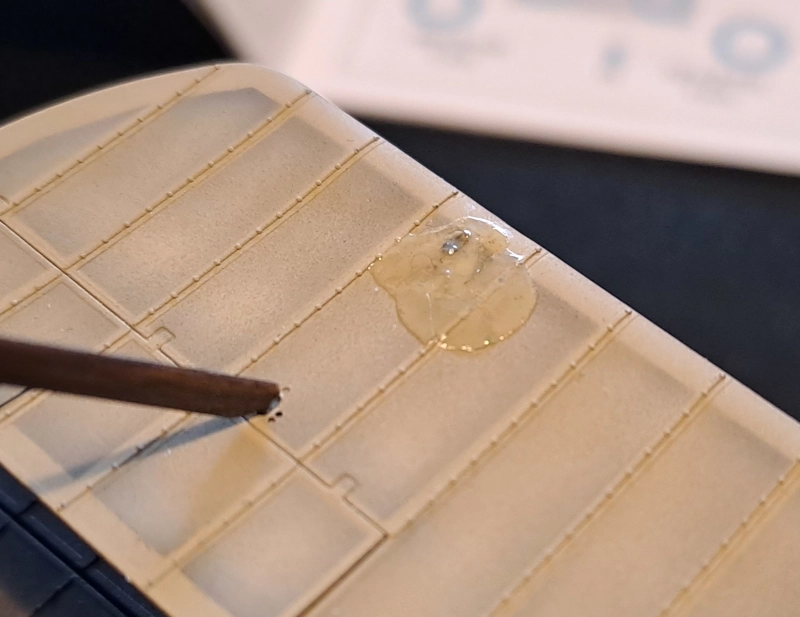
At one point, the floor broke loose. I used a long rod to apply a droplet of glue and reattach the floor back to the correct position again. I think this happened because I glued the parts after painting and did not remove a bit of paint.

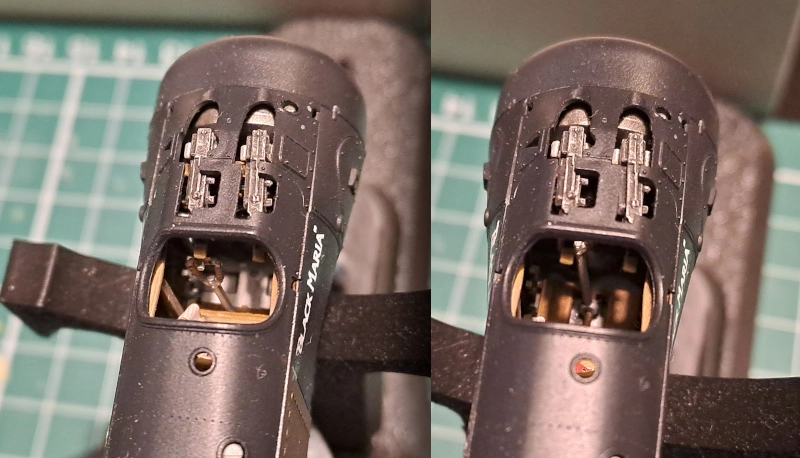

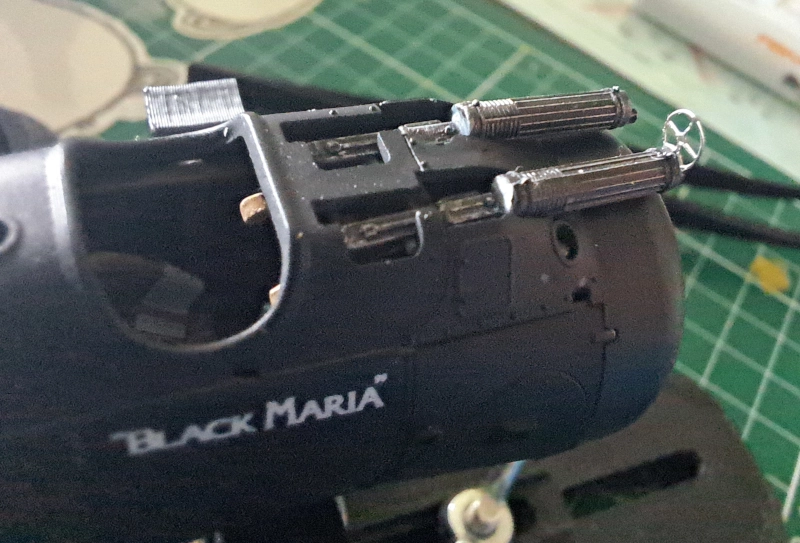
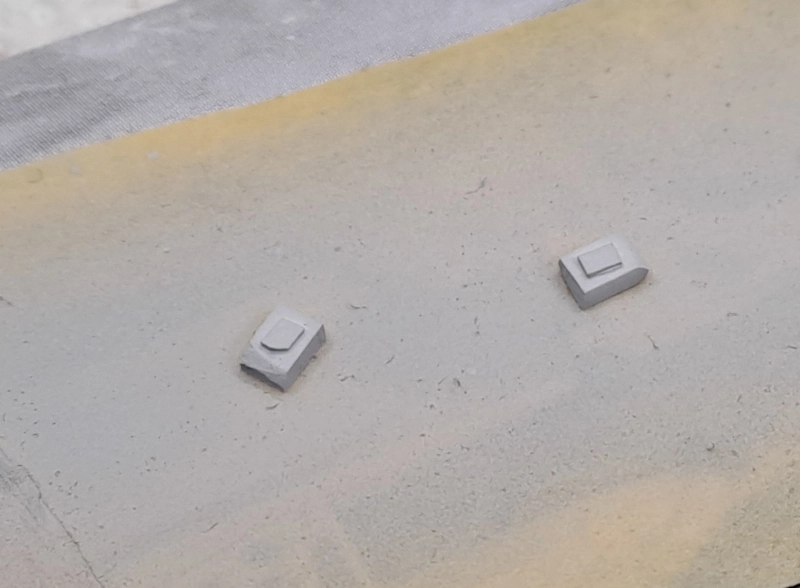
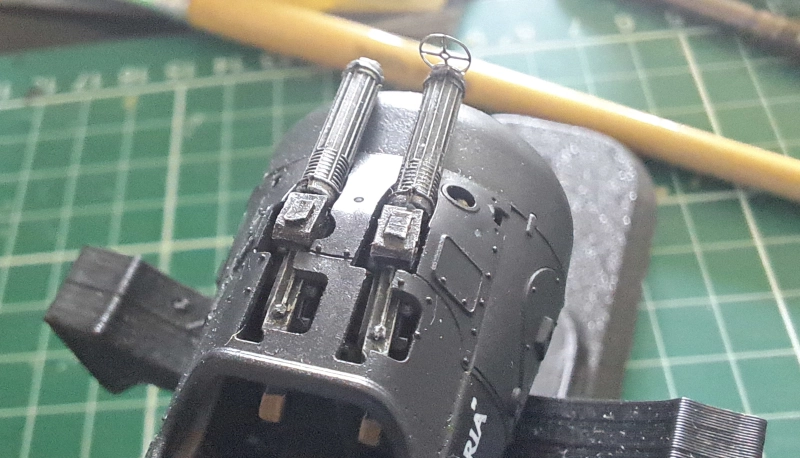
I also messed up the alignment of the guns, I did not seem to be able to align the guns on the control panel properly. I did put the control panel itself in the right place, but I must have done something wrong with the guns. I decided to hide this by creating additional parts and put these on top of the guns to try and hide my mistake.



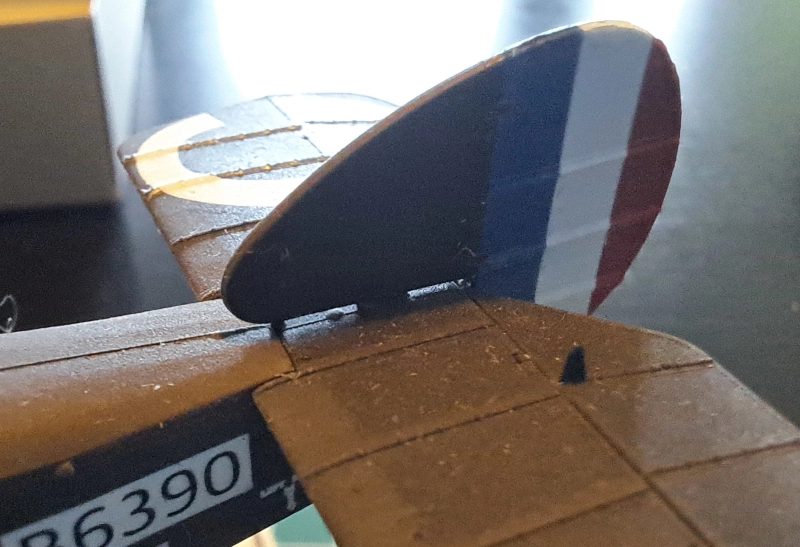
I painted the edges of the tail, after applying the decals.

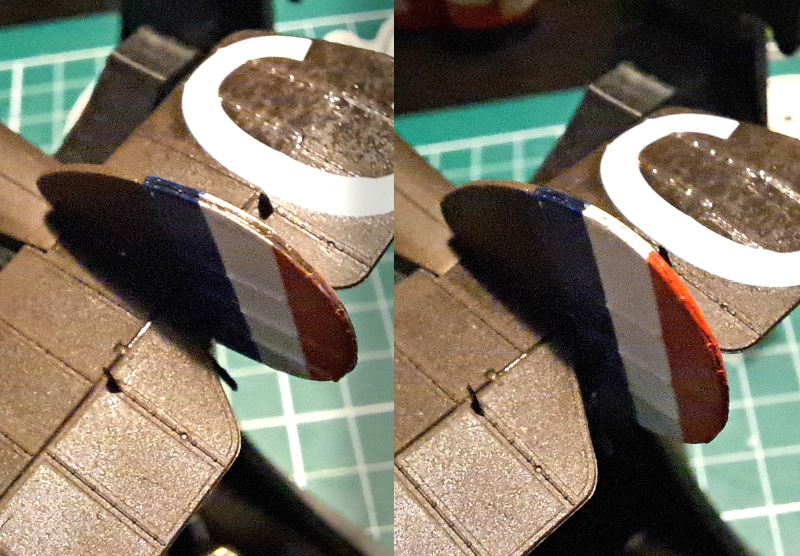

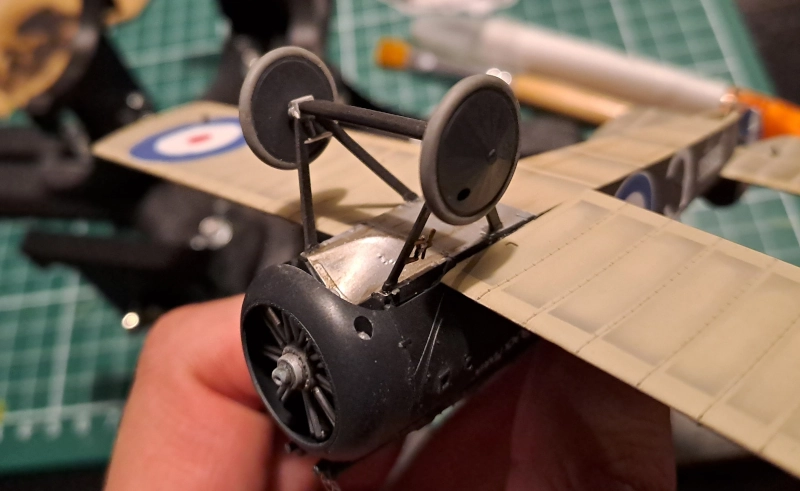

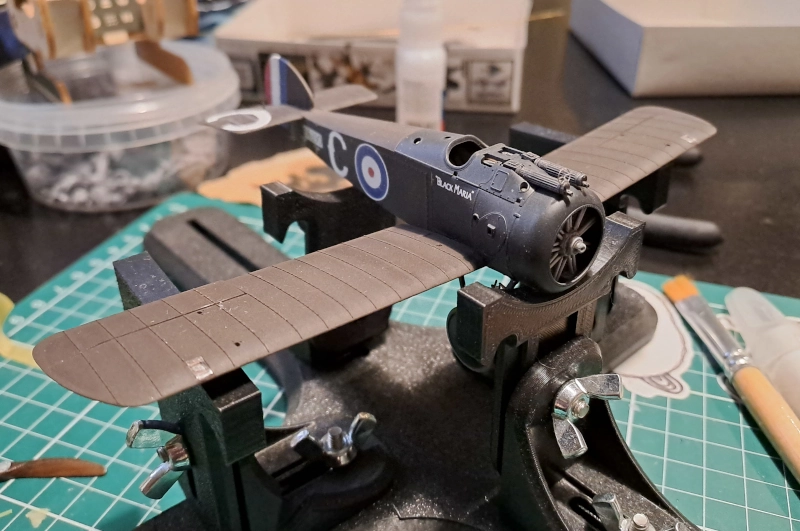

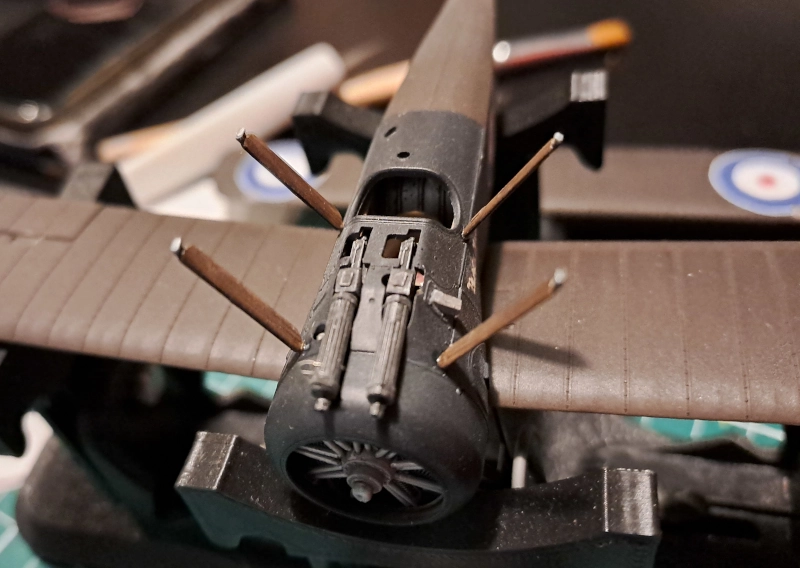

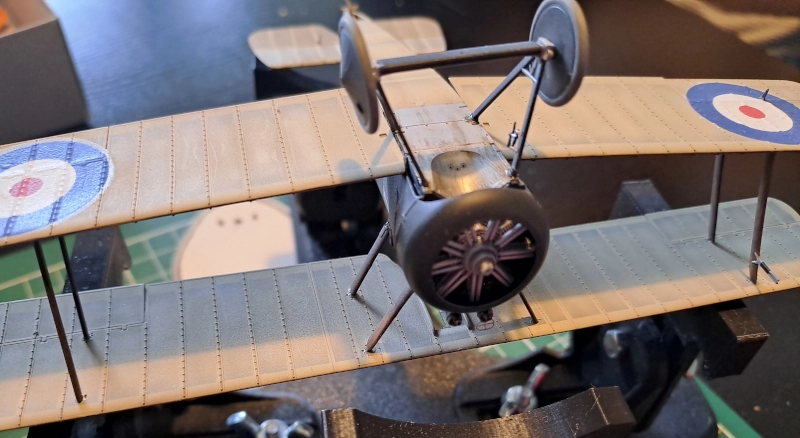
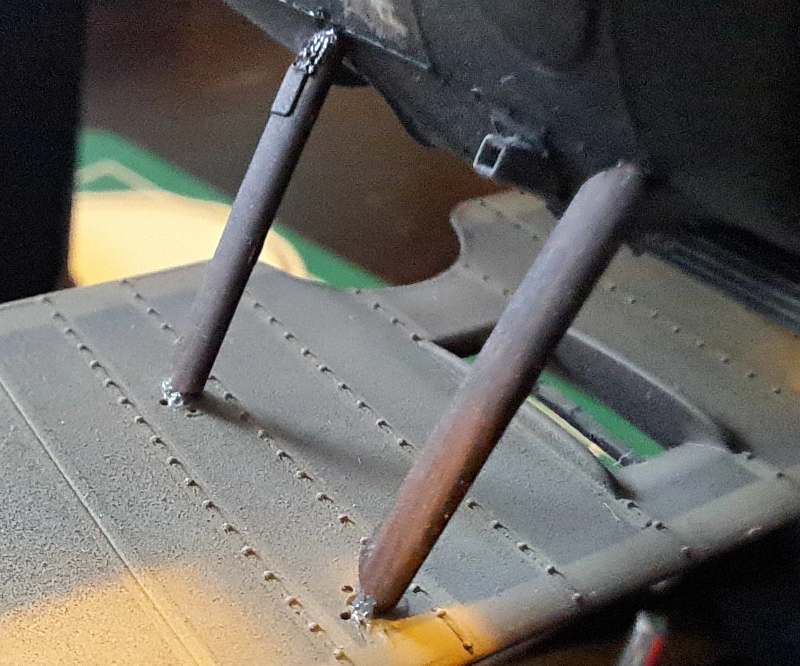
From a distance it may look fine, but zooming in will reveal the terrible glueing mistakes I made. I had a terrible time with this and my inexperience shows here.




Rigging
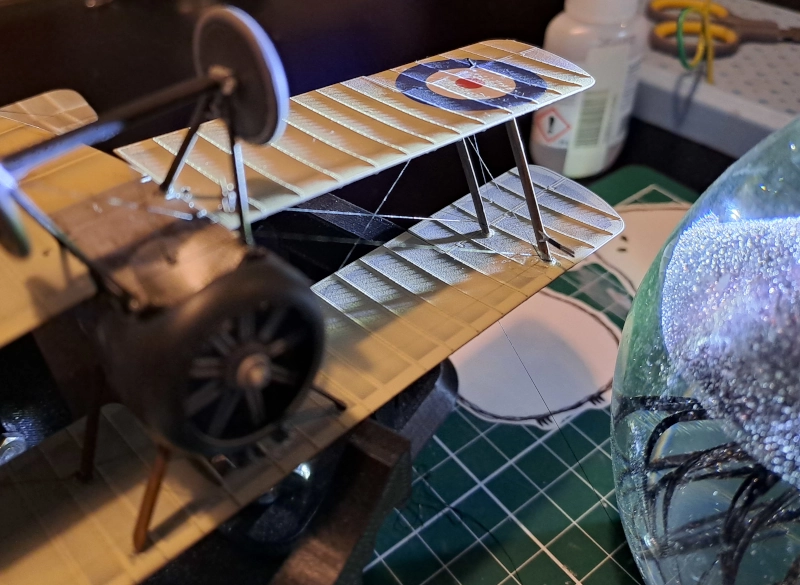
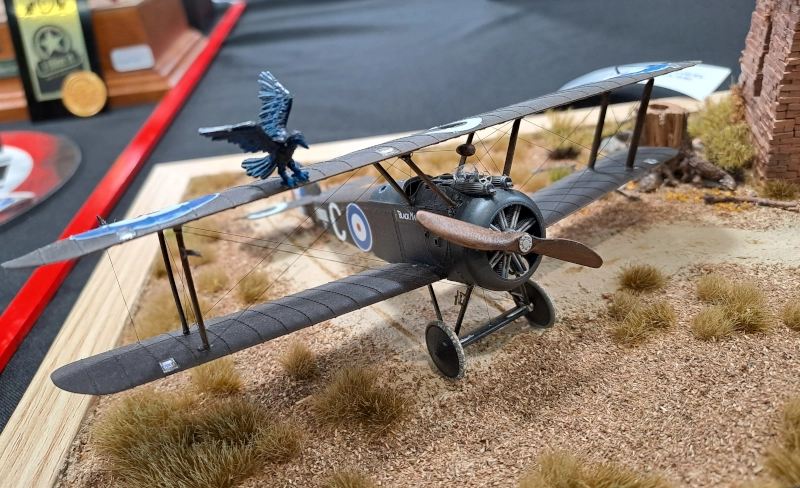
Next came the rigging. If my glue mistakes were not bad already, the glue mess I made during the rigging made me feel I ruined the model. This definitely was something I need more experience in. I also should have prepared the model much more with pre-drilled holes before painting.

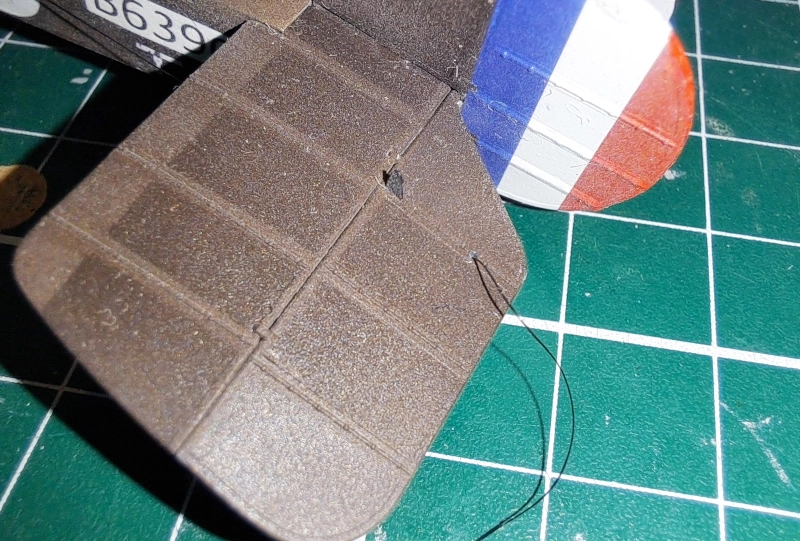

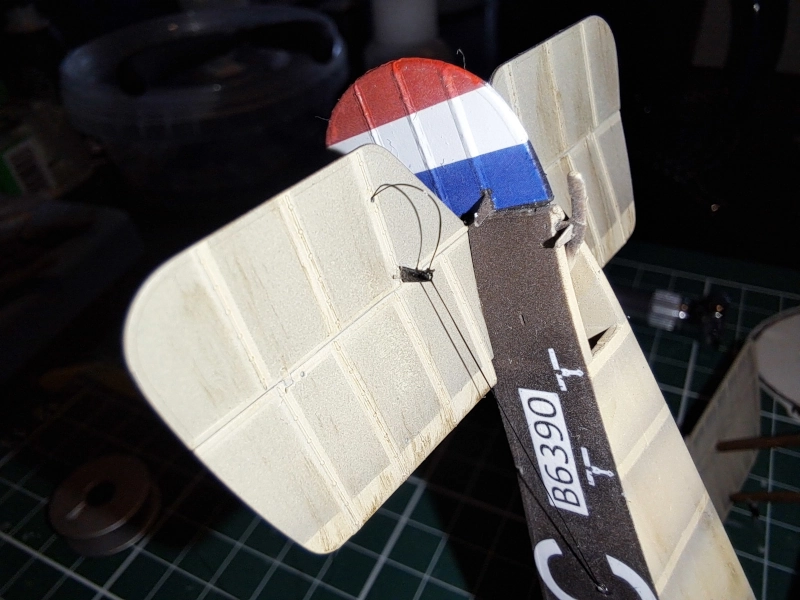

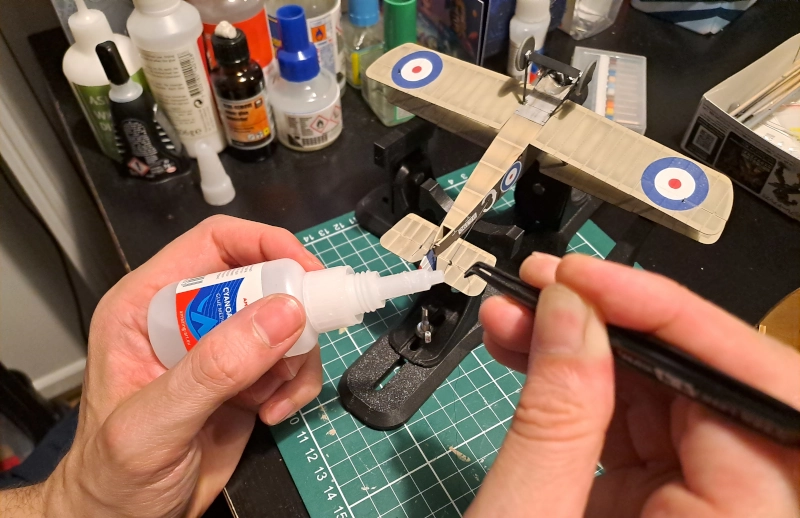

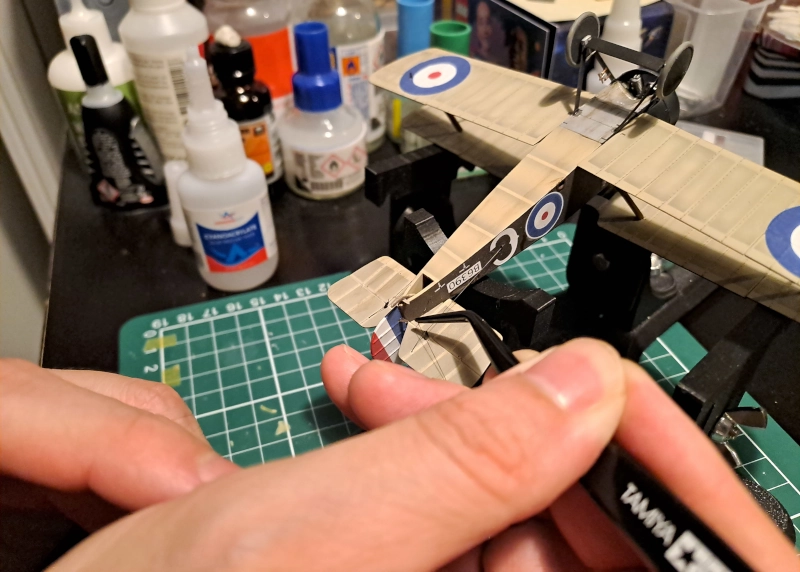
I had a lot of problems getting to attach the rigging lines from point to point. I decided to instead rotate the line around the strut several times and then add some glue. This made the rigging a little more fun to do, but the mess of the glue ruined a lot.

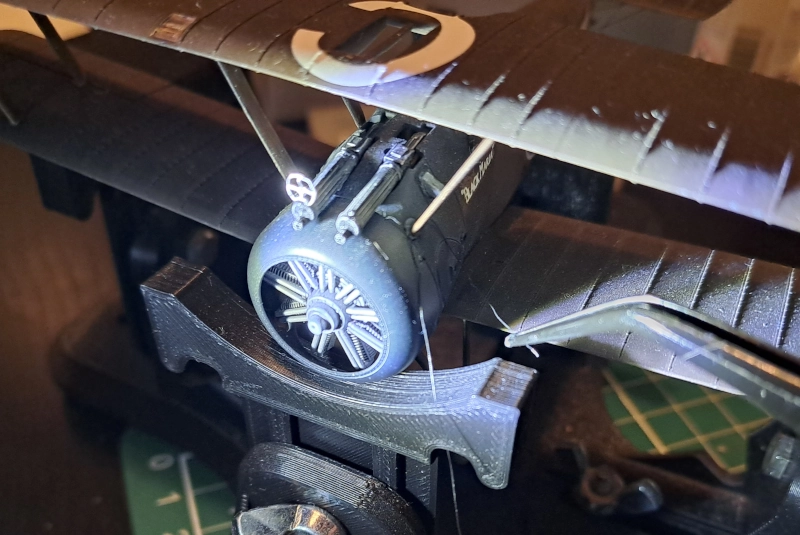

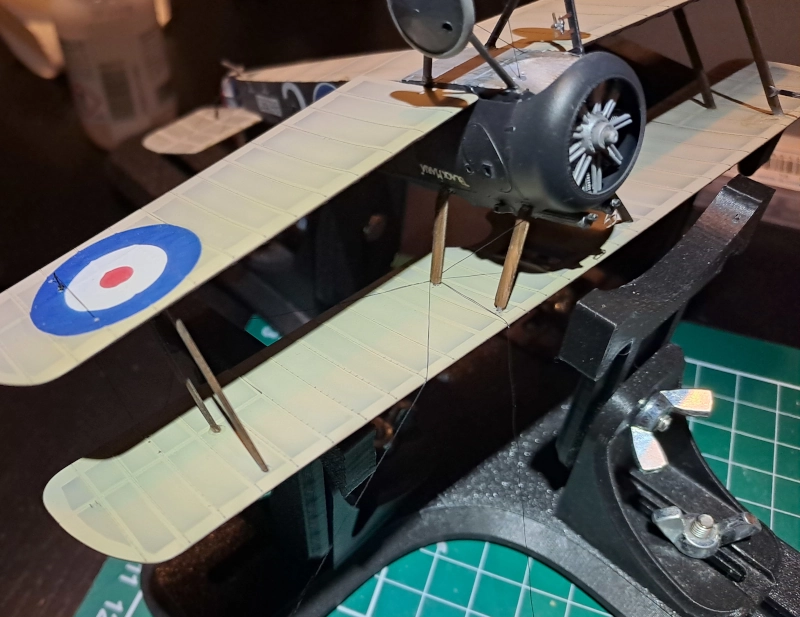

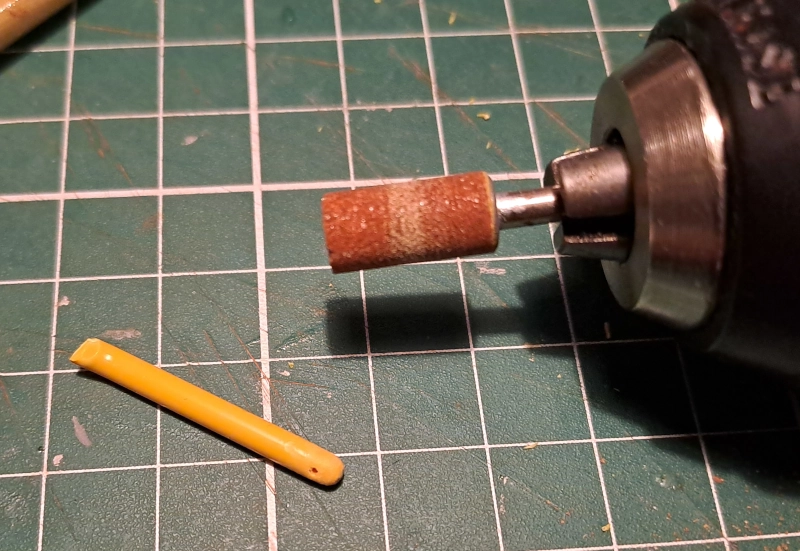
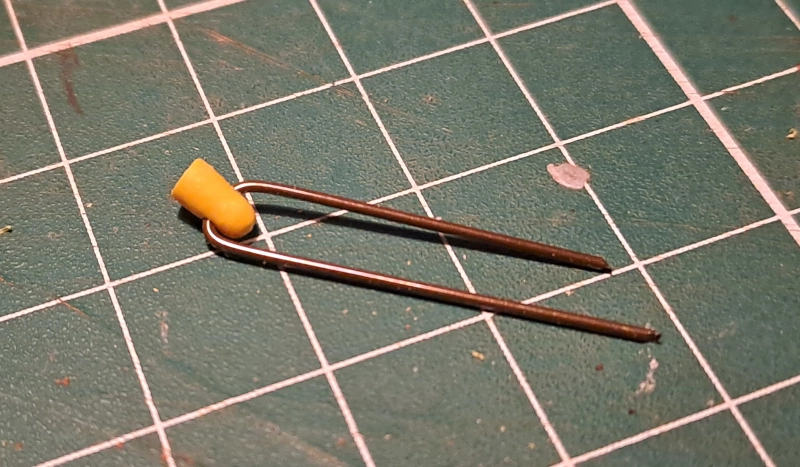
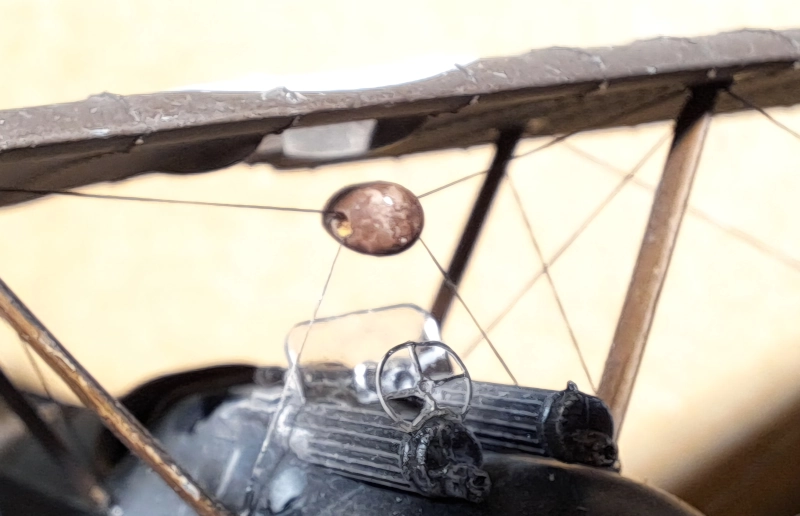
I lost the original part that is supposed to be suspended between the rigging. I think it is something used to tighten the cables. I used a bit of leftover sprue, drilled a hole in it and sanded it down.



Diorama
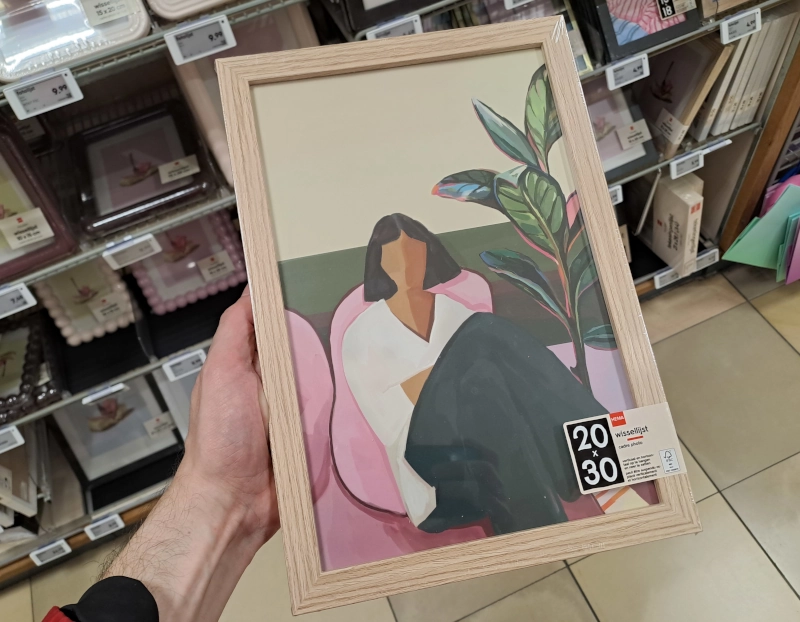
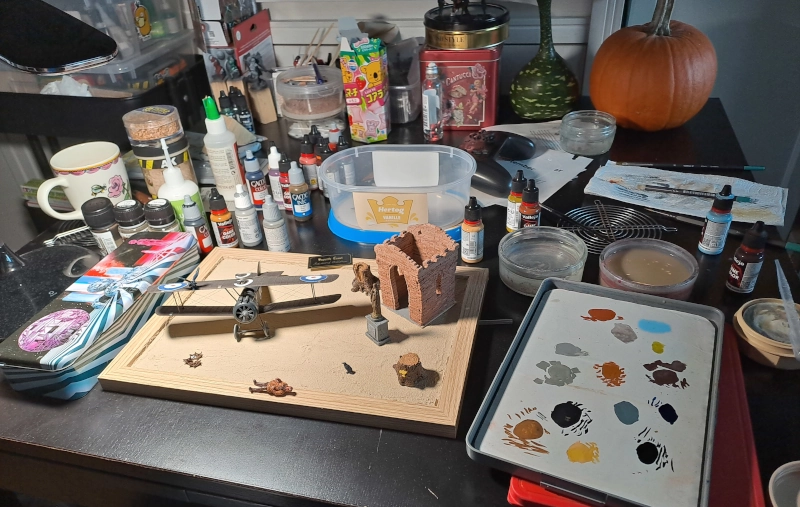
For the base of the diorama, I bought a cheap wooden photo frame from the HEMA, a local store in the Netherlands.

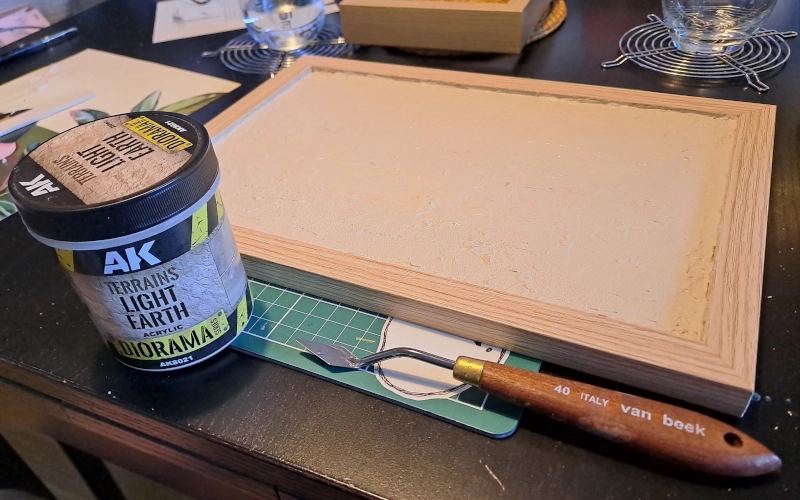
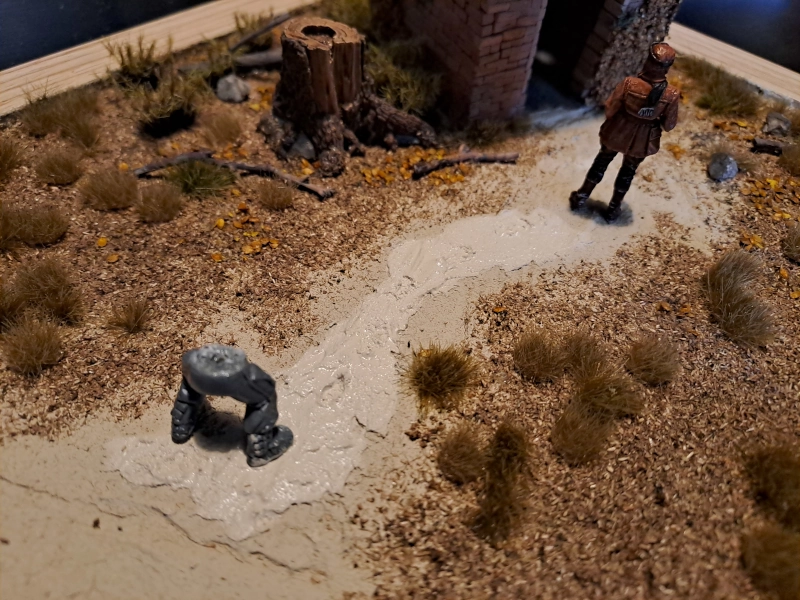
I applied AK Terrain Light Earth on the frame to serve as the earth. The grass will be added later.


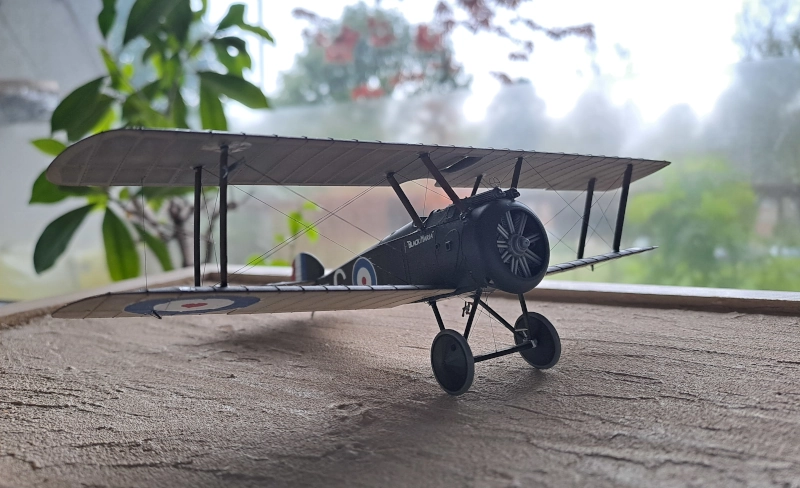
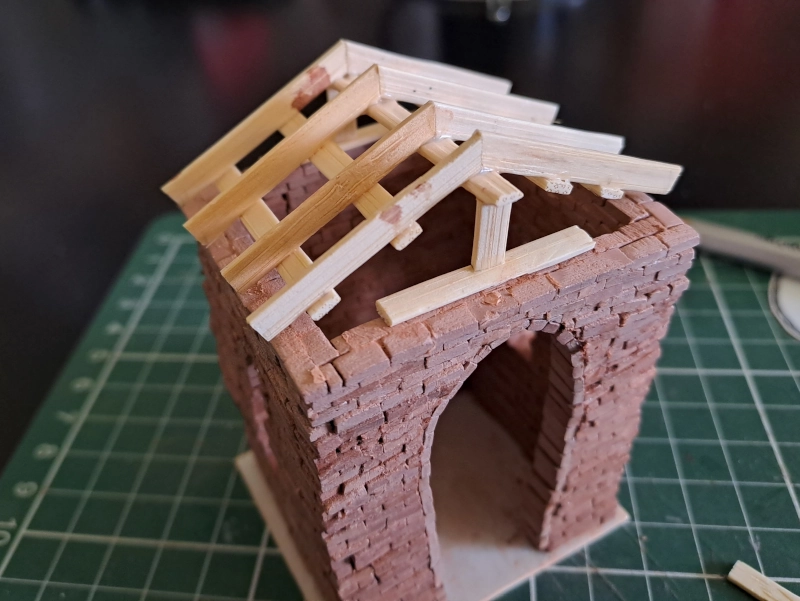
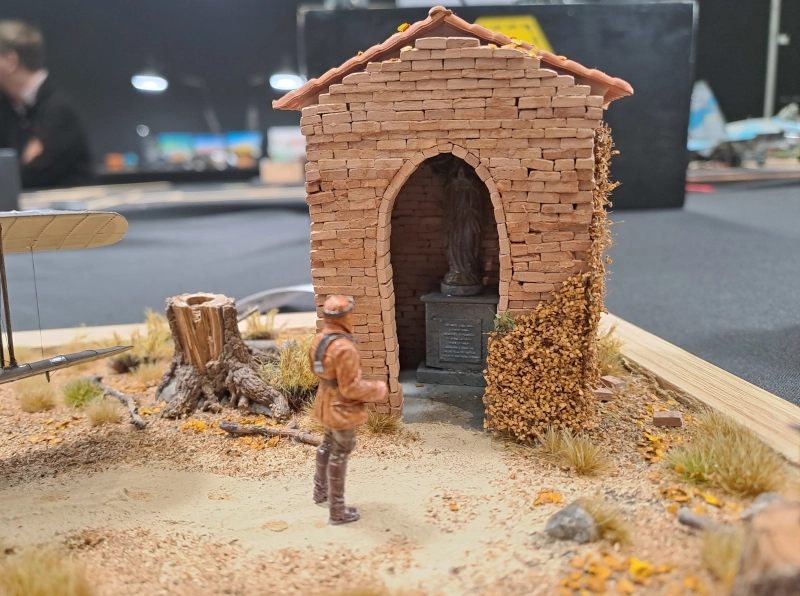
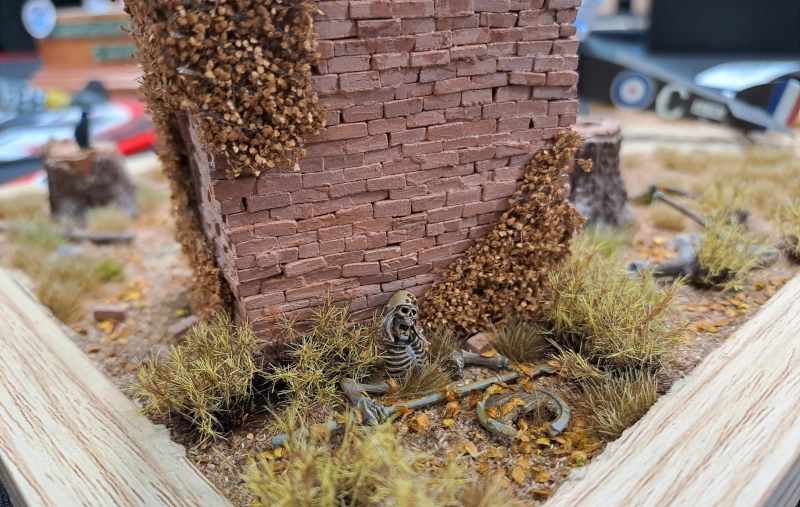
I wanted to add a little Maria chapel on the diorama. Just a simple building to add something interesting.

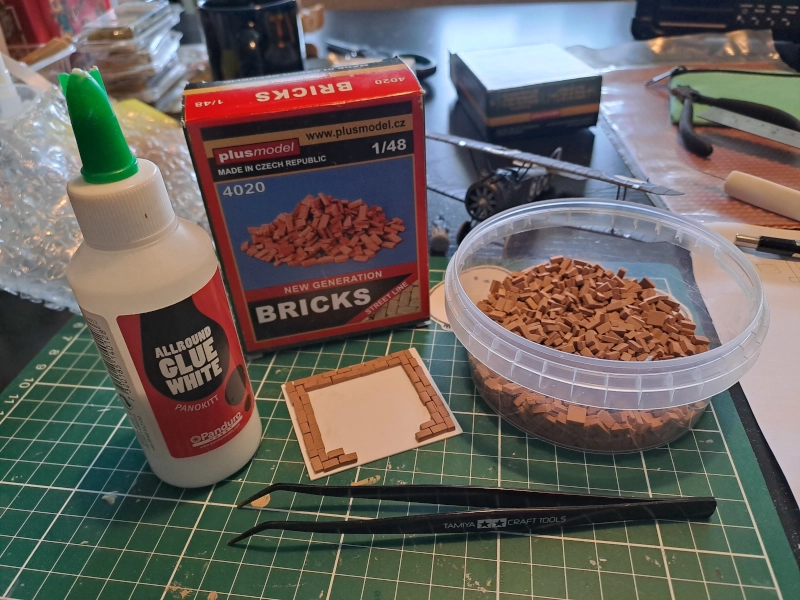
The little bricks are uneven in width and height. To keep the height consistent, I sanded each layer of bricks.

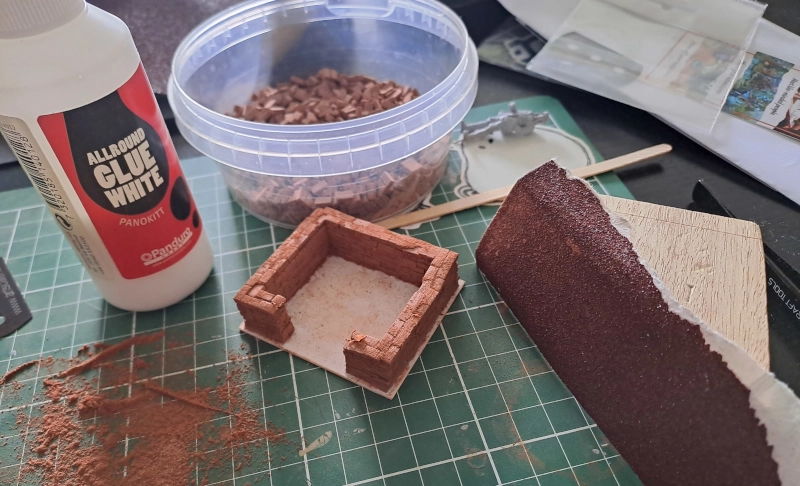

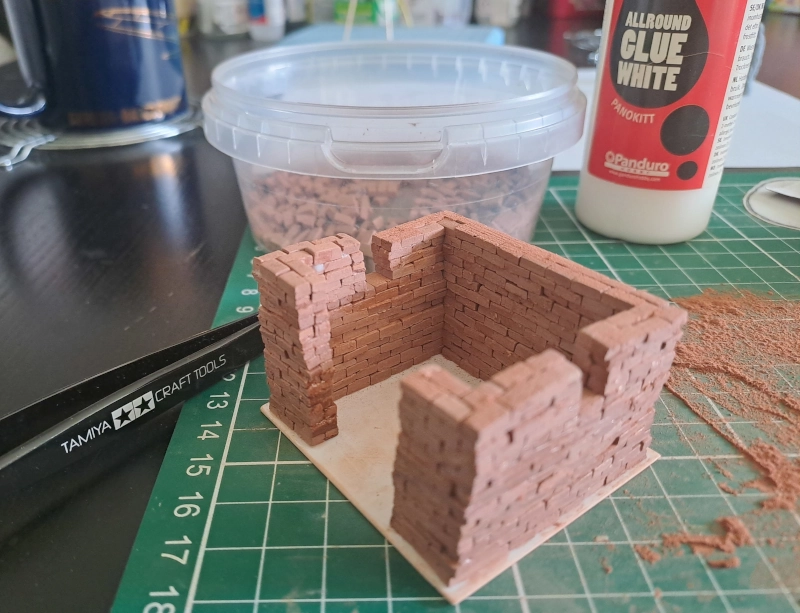

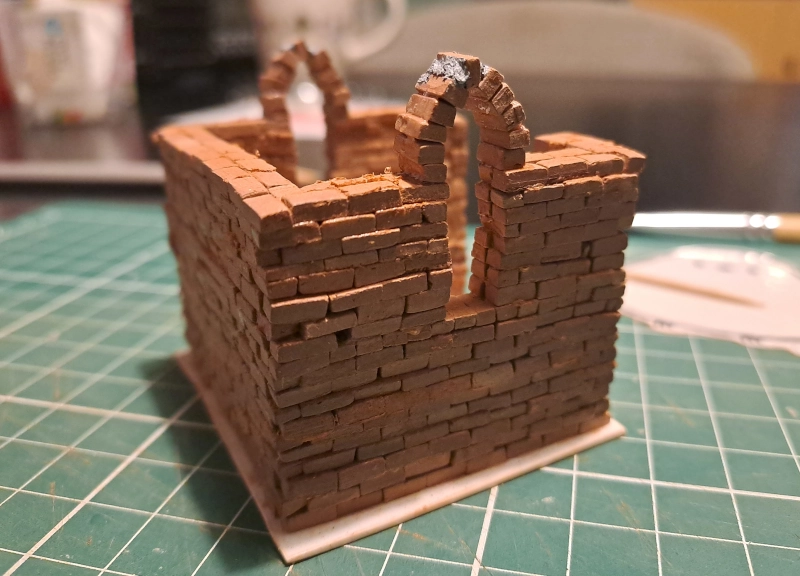
I used a drill to sand the entrance of the chapel, to add a more smooth layer of bricks.

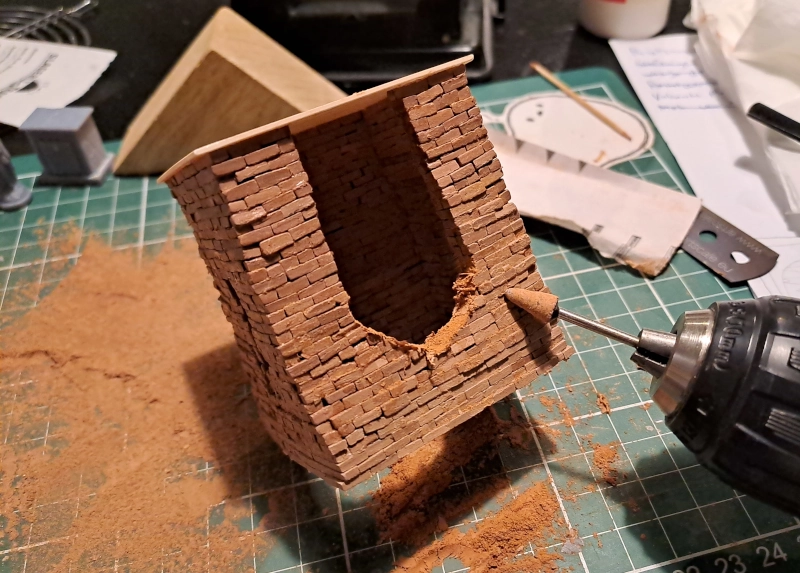
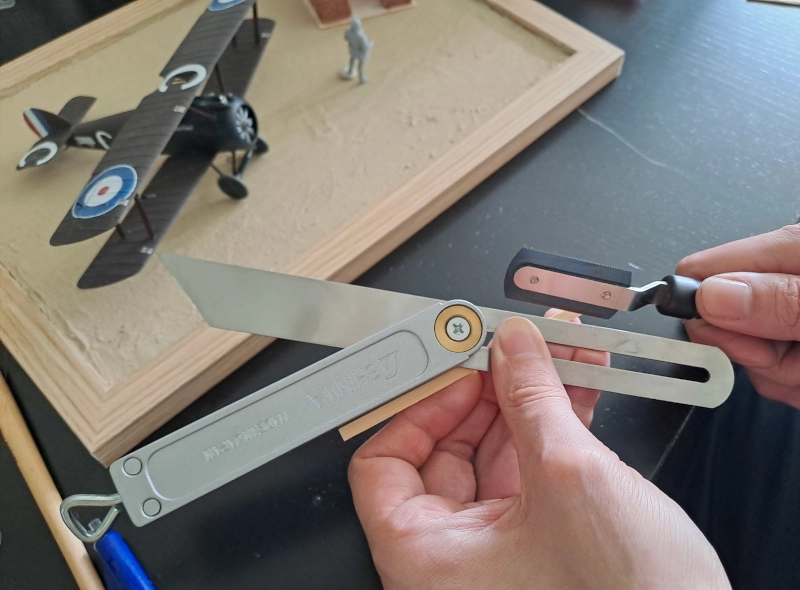
I used some coffee stir sticks to make some supports for the roof. I think these are made of balsa wood. I used a Sliding T-Bevel from Shinwa to saw the sticks all at the right angle.



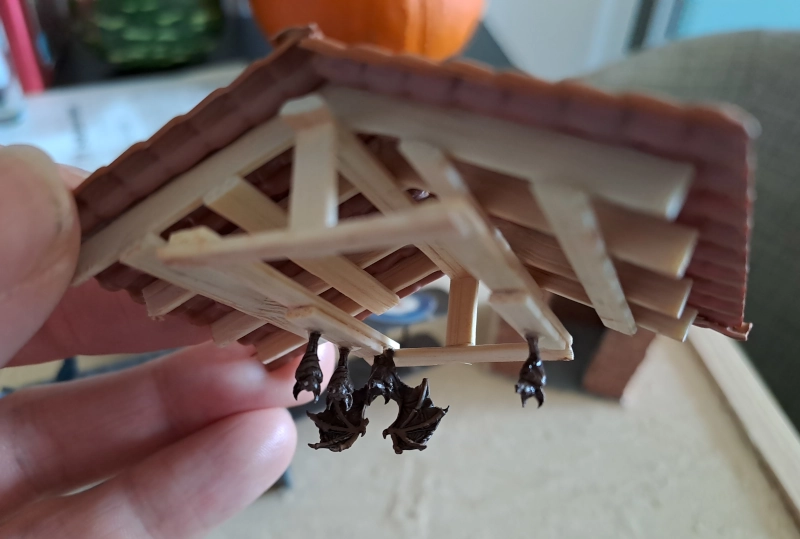
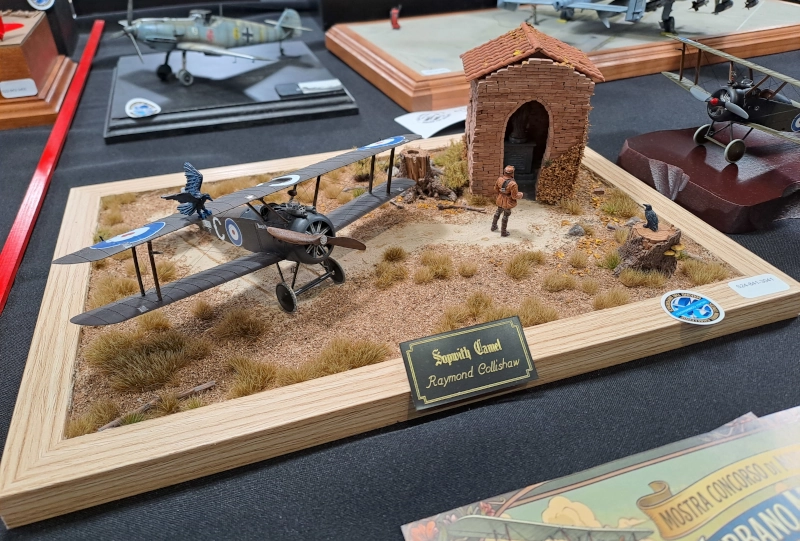
I added a pilot figure as well. The crows, bats and treestumps came from Green Stuff World. I added barren grass tufts of slightly different brands and colours to make it a little more interesting.





Transport
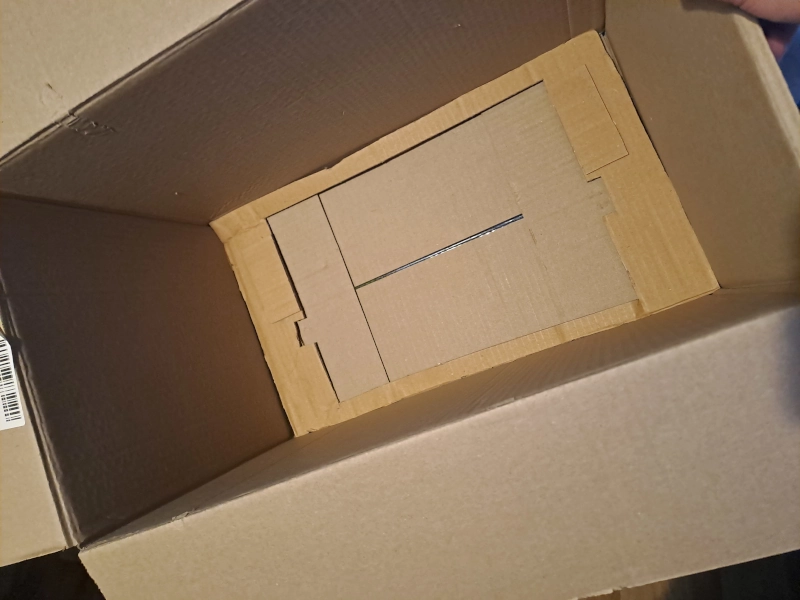
Also important, in order to get the diorama safely transported to the Scale Model Challenge (SMC) in Veldhoven, I cut some cardboard to make sure it cannot move while carrying it.

Scale Model Challenge 2026
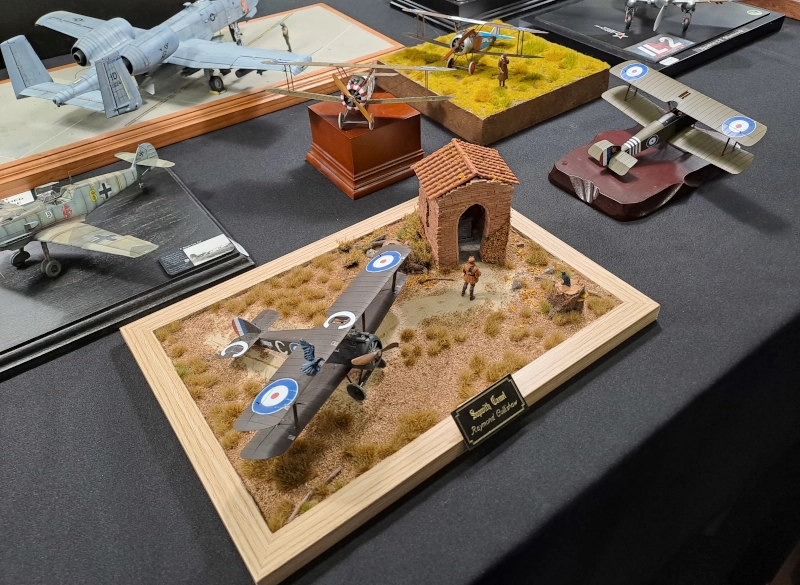
I participated in the Scale Model Challenge 2026, exactly 1 year after purchasing this model kit from Eduard at SMC 2025. I managed to win a highly commended pin. Although, I made a lot of mistakes on this model, especially the glue. But maybe my additional work managed to save the whole thing just a little bit. Nevertheless, this Sopwith Camel model was the most difficult I made so far and also greatly inspired me to continue making more world war 1 aircraft in the future.
The little nameplate came from: nameitplates.com, a shop in the United Kingdom.




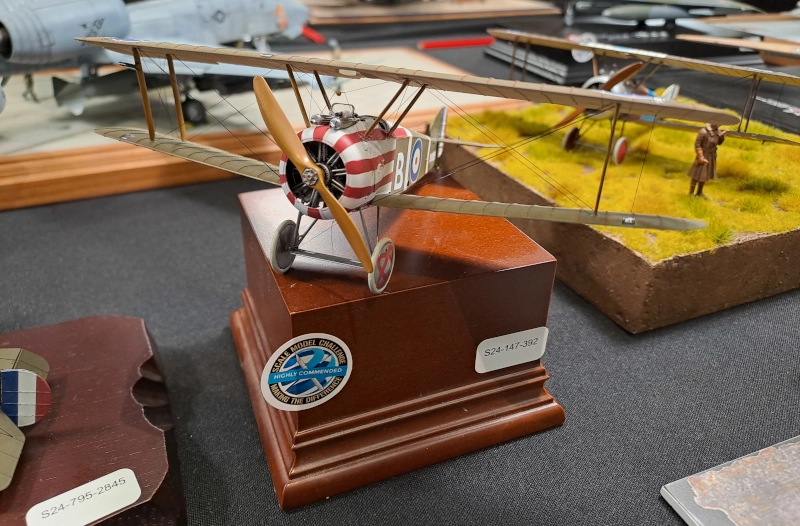
This Sopwith Camel was made by Mr.Paint from SIG Plamo, which also won a Highly Commended pin.

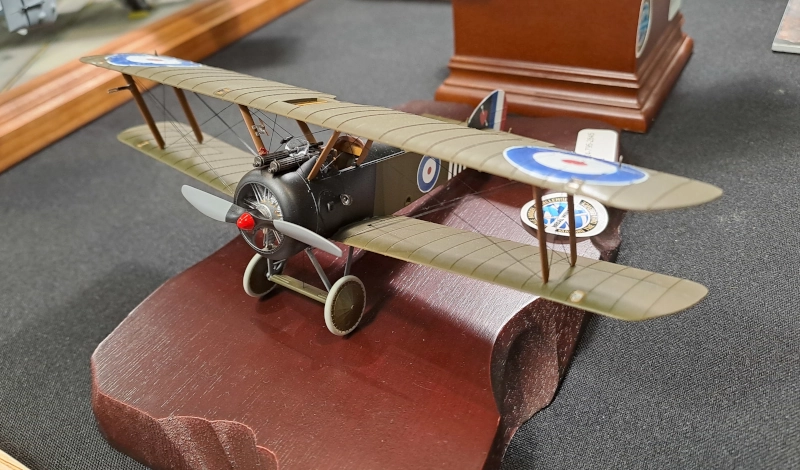
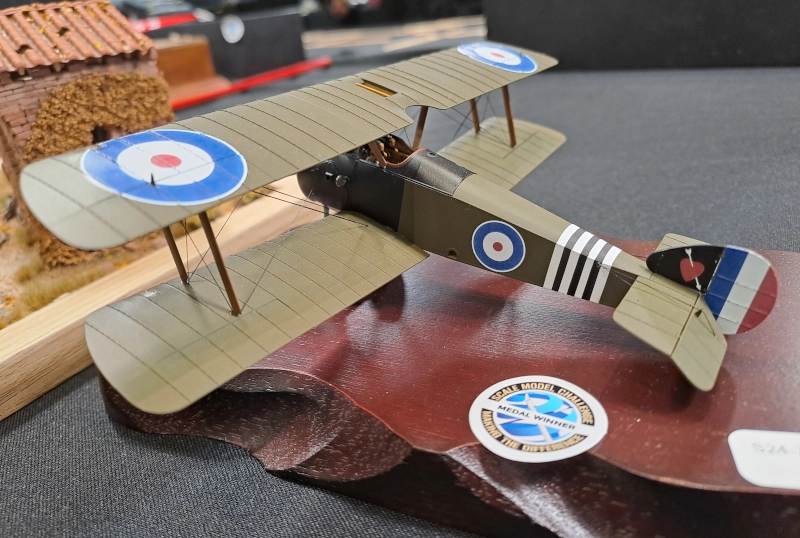
And this Sopwith Camel, made by Mr.Sprue from SIG Plamo, won a Bronze medal!


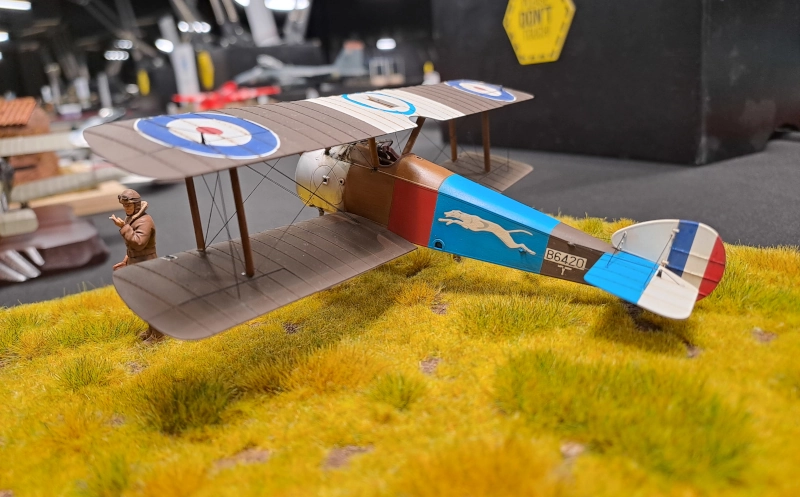
And if you want to know what a Silver medal Sopwith Camel looks like, then enjoy seeing this one made by Mr.Plamo from the SIG Plamo group.


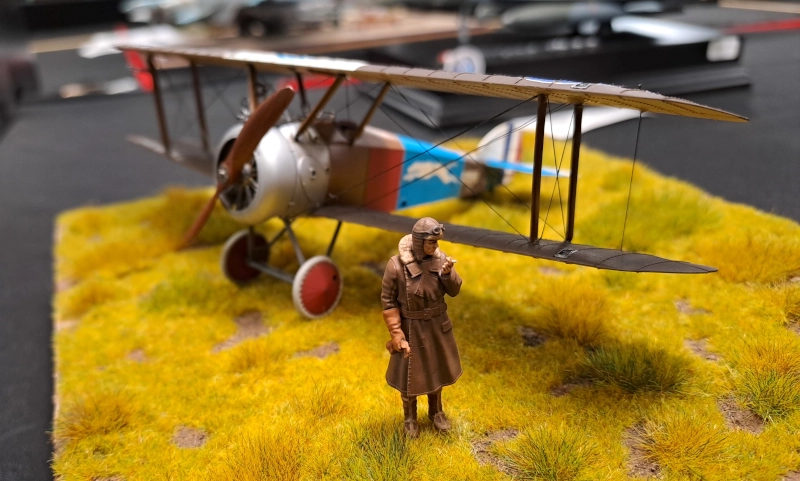
Now that I have the HC pin, the next goal has to be a medal. Thank you for reading my article.

外部リンク
- Wikipedia - ソッピース・エイヴィエーション
- Wikipedia - ソッピース キャメル
- Wikipedia (英語) - Raymond Collishaw
- Wikipedia (英語) - Bentley BR.1 rotary engine
プラモデルキットに戻る