Geplaatst op: 17 oktober 2026
Model-informatie
| Model | Sopwith F.1 Camel (BR.1) |
| Schaal | 1/48 |
| Serie | |
| Fabrikant | Eduard |
| Release jaar | 2021 |
| Kit nummer | 82171 |
Aankoop-informatie
| Datum | 18 oktober 2025 |
| Prijs | €19,60 |
| Winkel | Eduard |
| Venue | SMC (Scale Model Challenge) 2025 |
| Locatie | Veldhoven, Nederland |


De Sopwith Camel
Dit vliegtuig was gebouwd door de Sopwith Aviation Company en werd tijdens de Eerste Wereldoorlog gebruikt door de Britten.
De kit
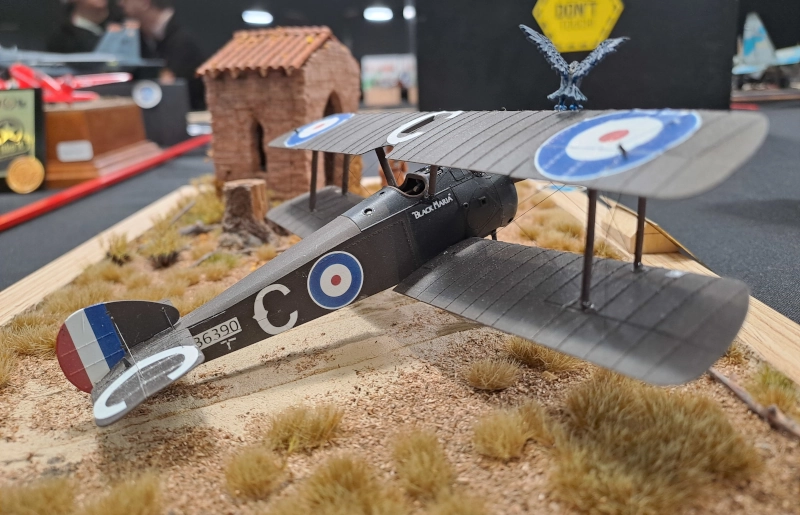
Ik heb deze kit gekocht bij de Eduard stand tijdens SMC (Scale Model Challenge) in Veldhoven, in 2025. Ik heb de F.1 variant met een Bentley BR.1 motor en ga de “Black Maria” maken, die werd gebruikt door de Canadese piloot Raymond Collishaw.
Gebruikte verf
- Mr. Hobby - C42 Mahogany
- Mr. Hobby - C43 Wood Brown
- Mr. Hobby - C45 Sail Color
- Mr. Hobby - C125 Cowling Color
- Mr. Hobby - GX101 GX Clear Black (schaduw)
- Vallejo - 72.051 Game Color - Black (Olie-spetters, machinegeweren)
- Vallejo - 72.052 Metallic - Silver (Machinegeweer randjes)
- Vallejo - 72.055 Metallic - Polished Gold (Instrumenten op het controle-paneel)
- Vallejo - 72.071 Game Color - Barbarian Skin (Machinegeweer hendels)
- Rembrandt - 403 VanDyke Brown (olieverf voor het houtnerf effect)
(Maar, koop niet de dure Rembrandt verf, het is een kwaliteitsverf eigenlijk bedoeld voor schilderijen)
Foto’s


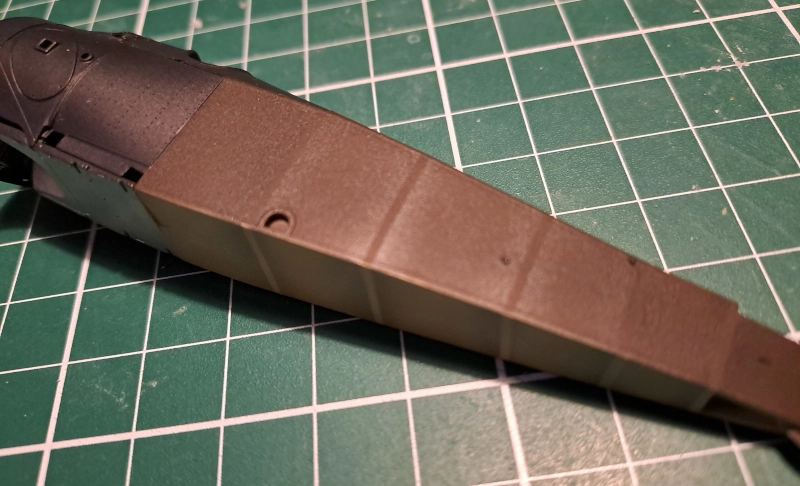
Ik denk dat ik veel te veel schaduw heb toegebracht. Er is te veel contrast. Maar, omdat het de onderkant is, is dat misschien niet zo erg, dus heb ik het gelaten zoals het is.


I made a mistake, because I decided to shade the underside of the fusilage. This is to simulate where wooden planks should be. After paining the dark brown on the sides, I noticed that the model already suggests where these planks should be. These did not line up with my randomly placed shadows, so I had to repaint the underside and mask again using a single tape for the sides and underside.



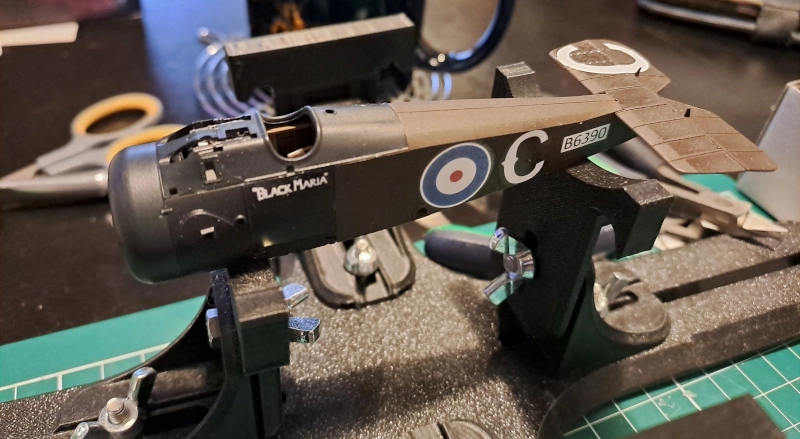

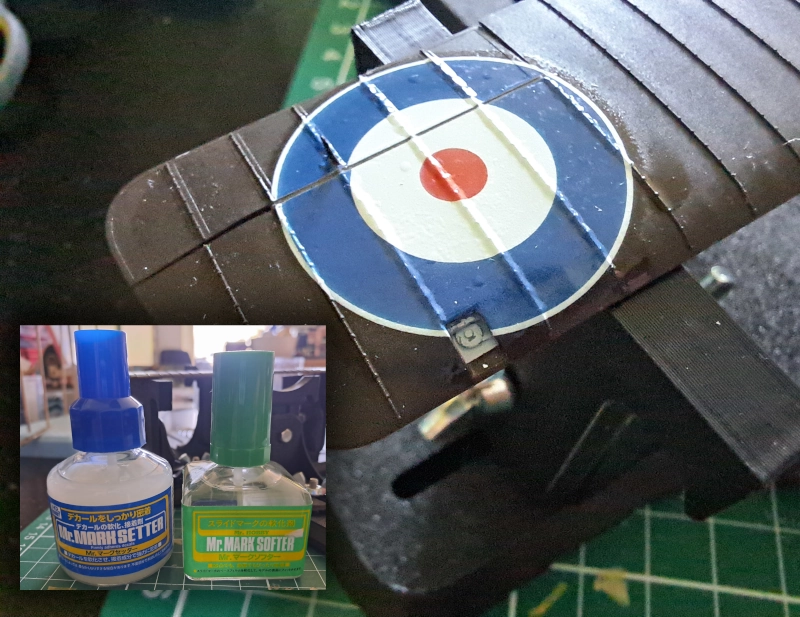

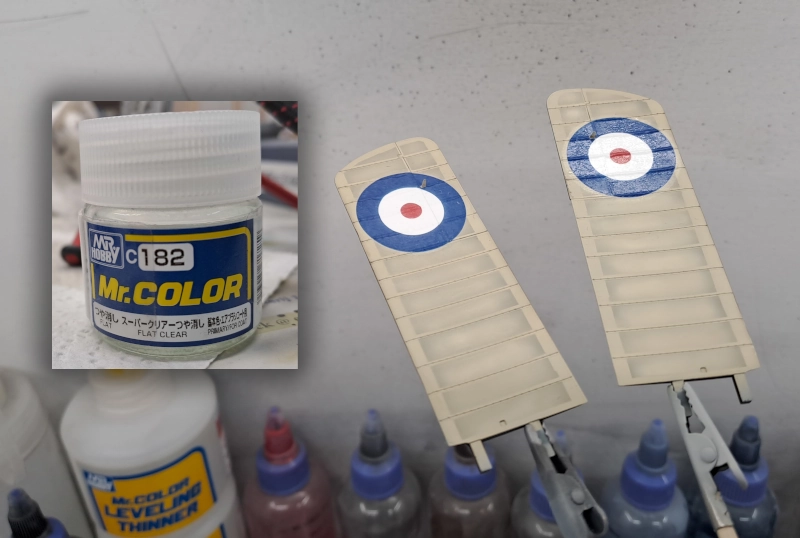
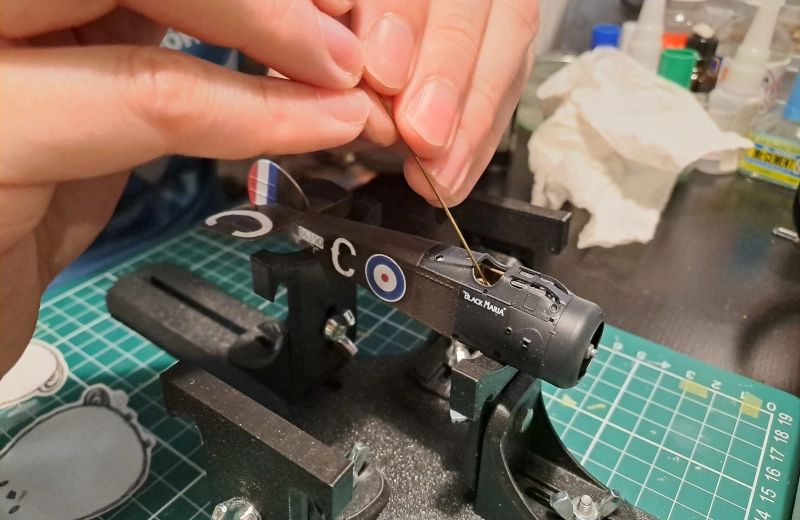
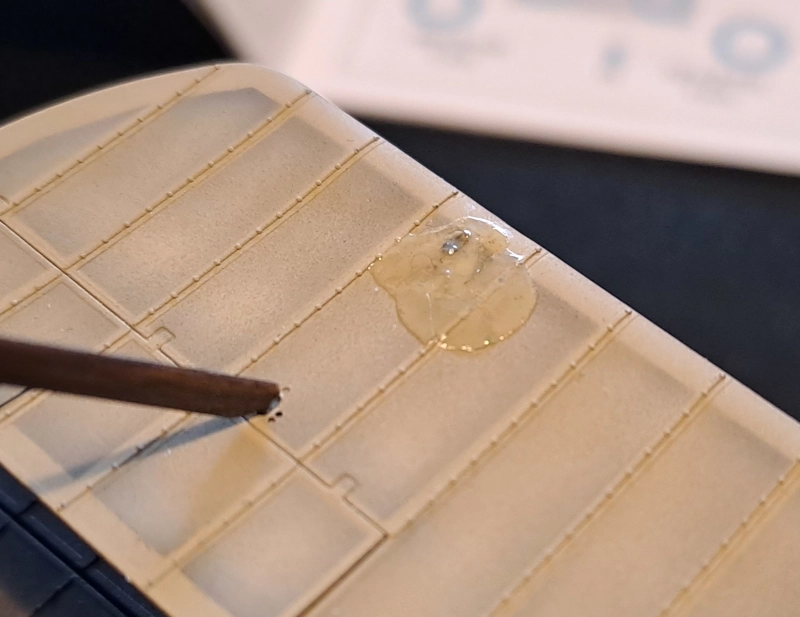
At one point, the floor broke loose. I used a long rod to apply a droplet of glue and reattach the floor back to the correct position again. I think this happened because I glued the parts after painting and did not remove a bit of paint.

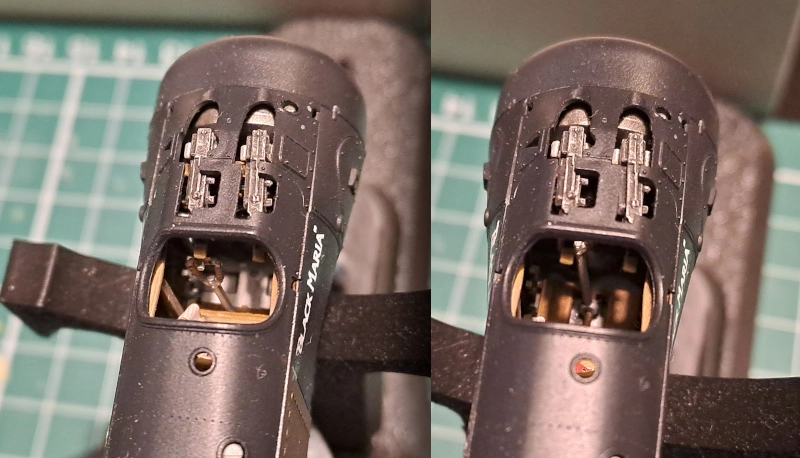

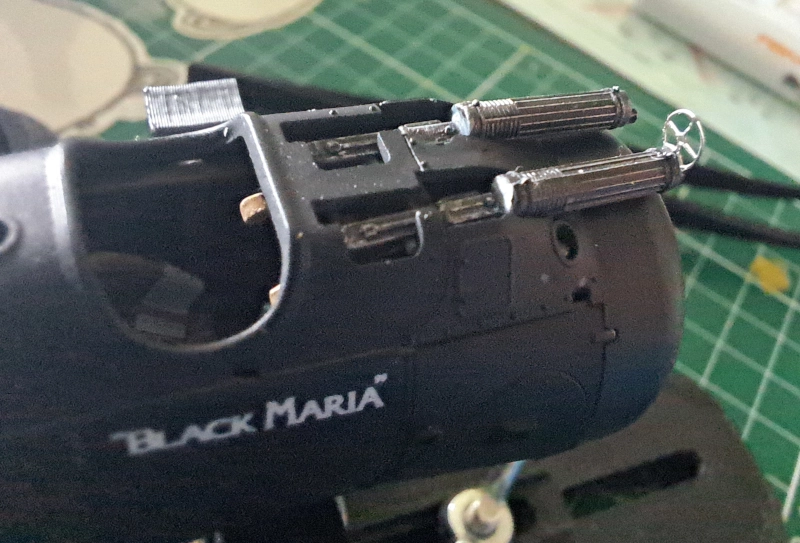
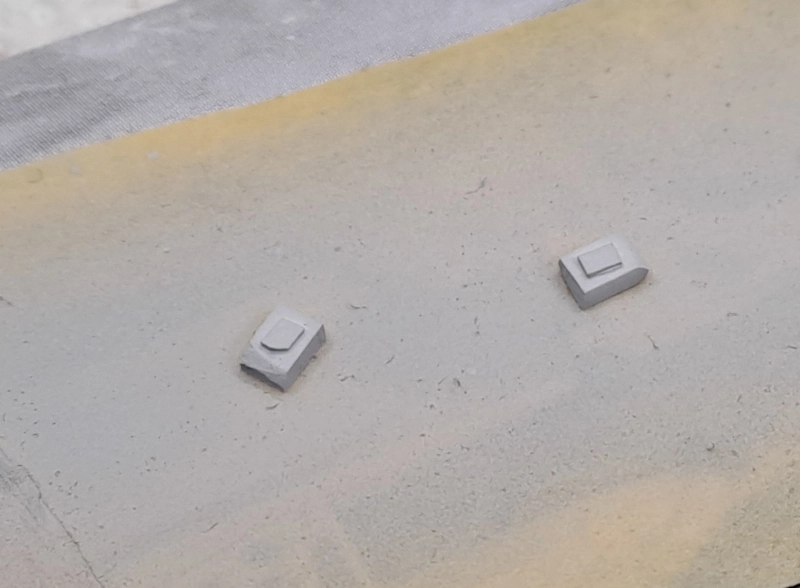
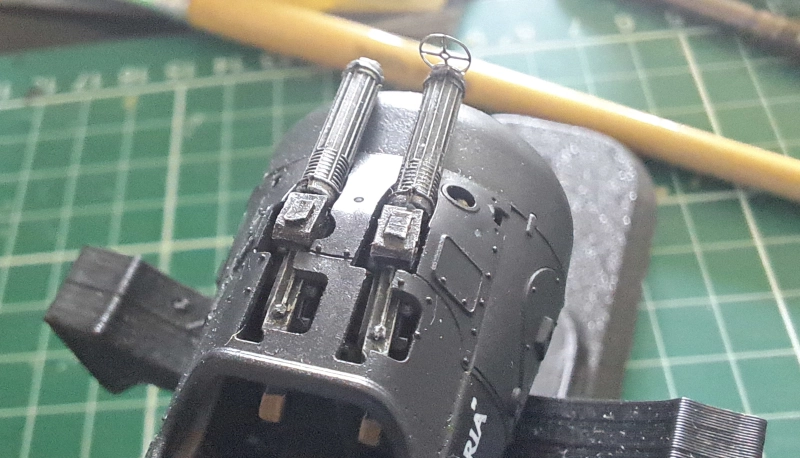
I also messed up the alignment of the guns, I did not seem to be able to align the guns on the control panel properly. I did put the control panel itself in the right place, but I must have done something wrong with the guns. I decided to hide this by creating additional parts and put these on top of the guns to try and hide my mistake.



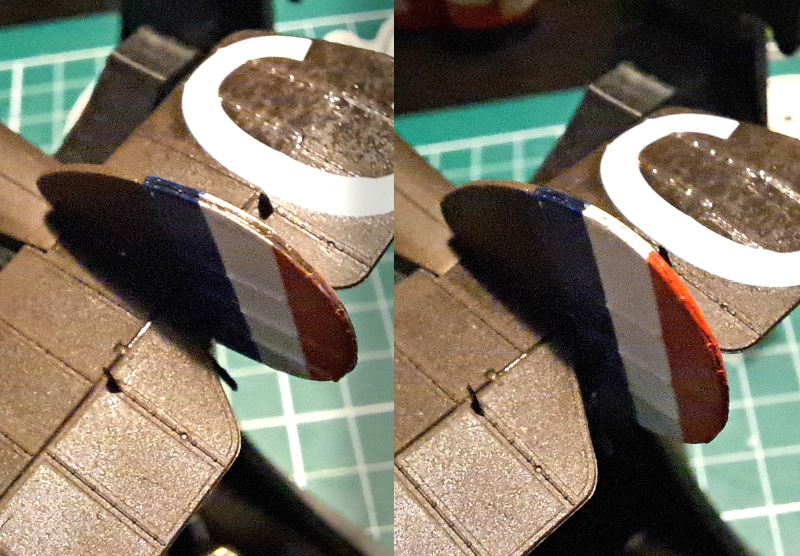
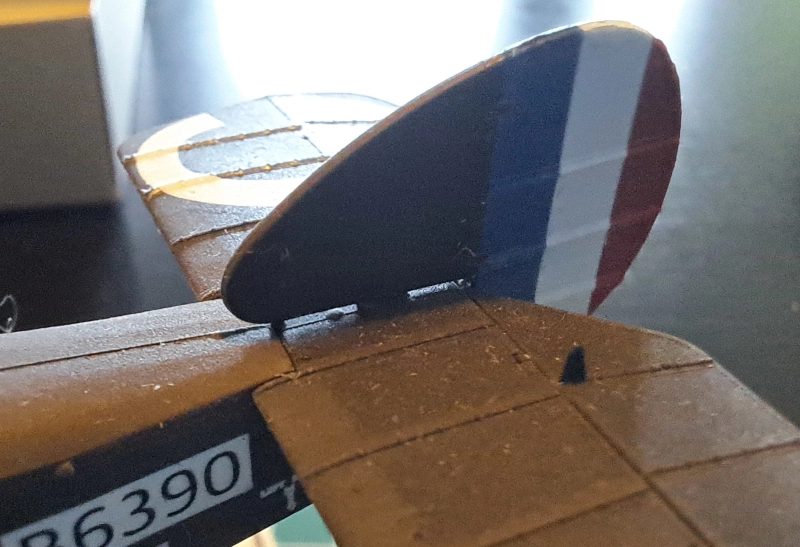
I painted the edges of the tail, after applying the decals.


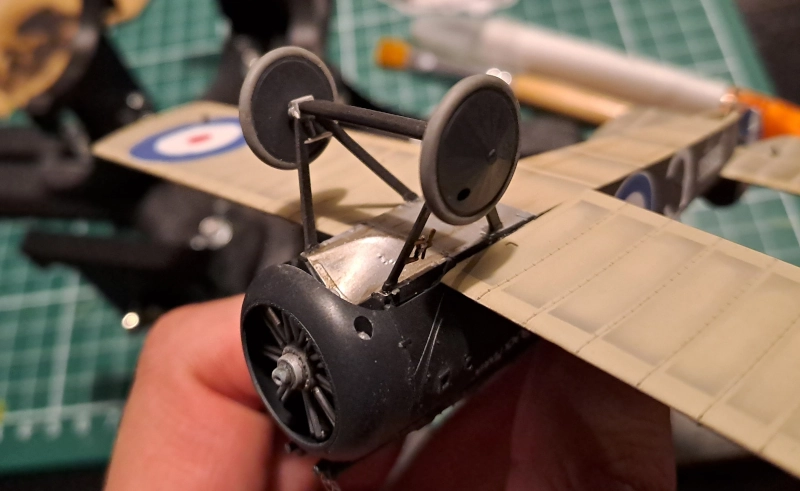

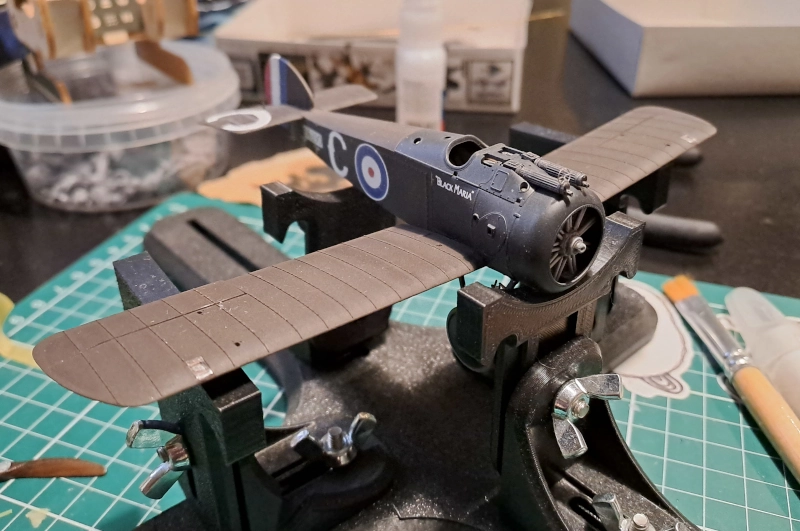

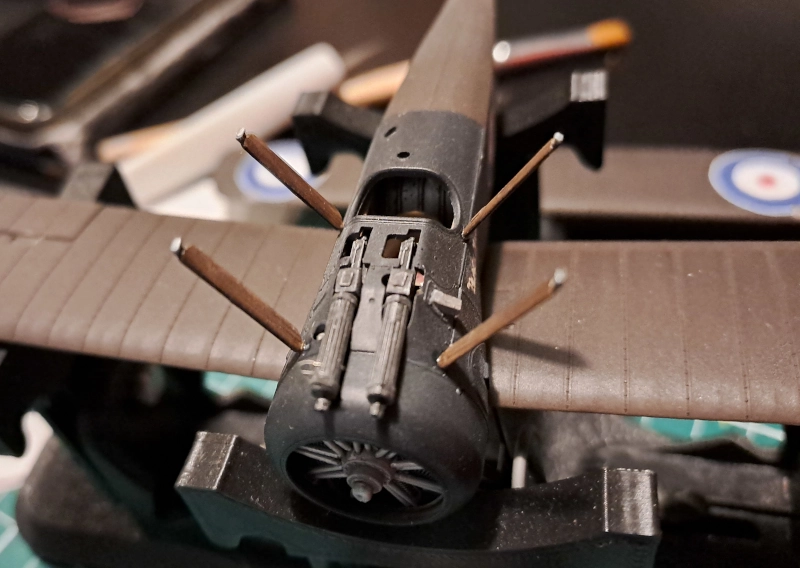

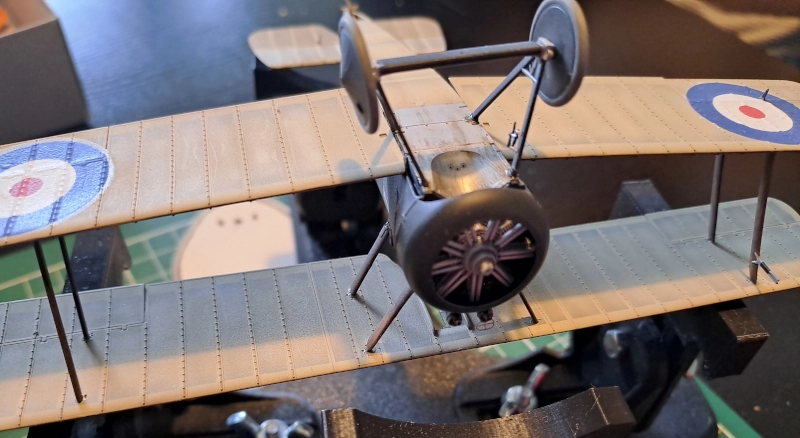
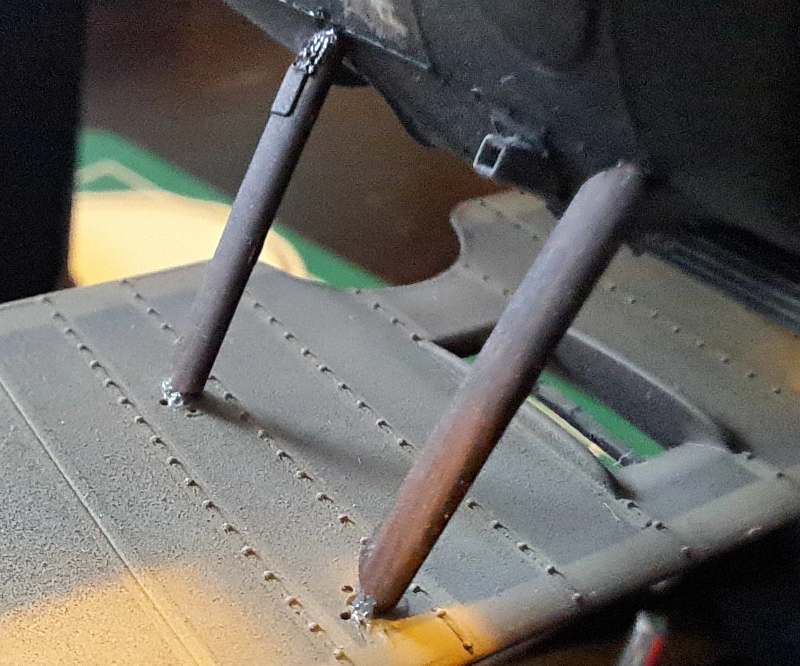
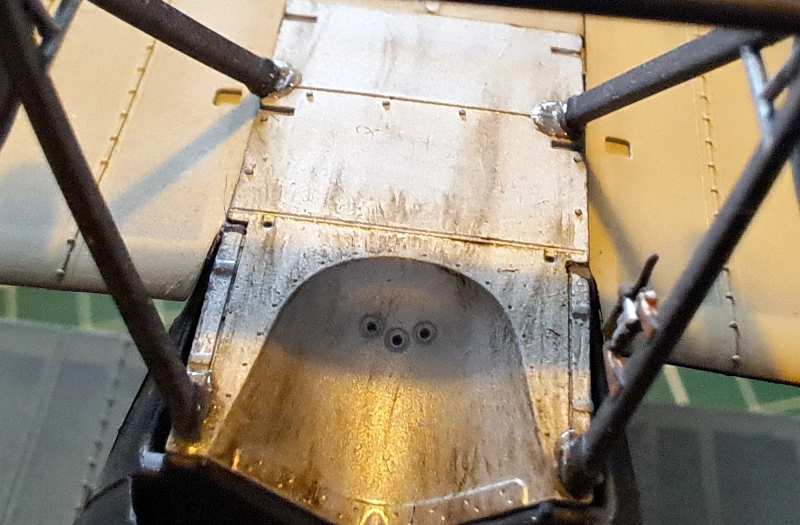
From a distance it may look fine, but zooming in will reveal the terrible glueing mistakes I made. I had a terrible time with this and my inexperience shows here.




Rigging
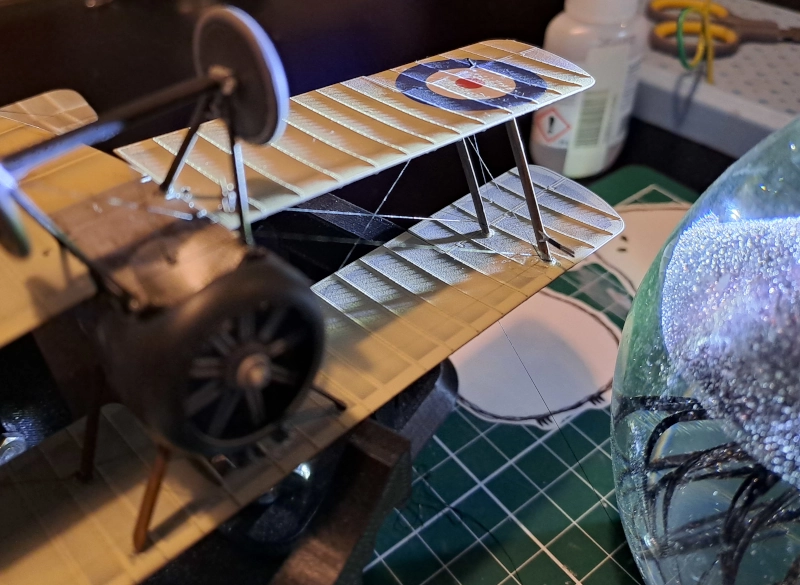
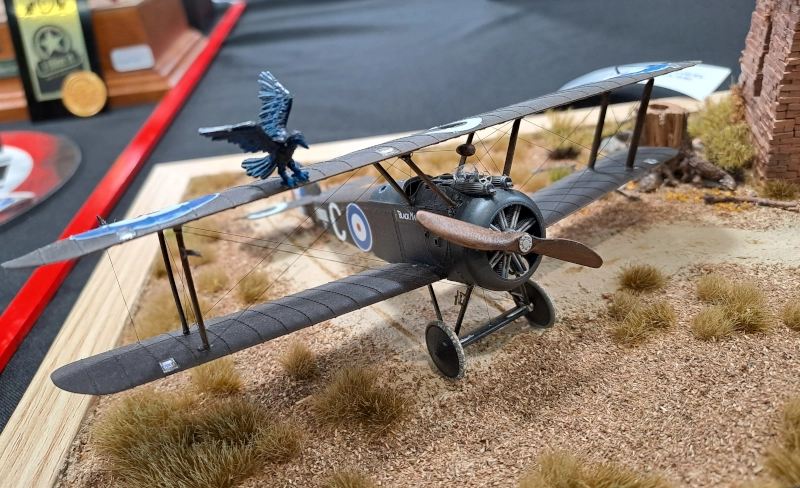
Next came the rigging. If my glue mistakes were not bad already, the glue mess I made during the rigging made me feel I ruined the model. This definitely was something I need more experience in. I also should have prepared the model much more with pre-drilled holes before painting.

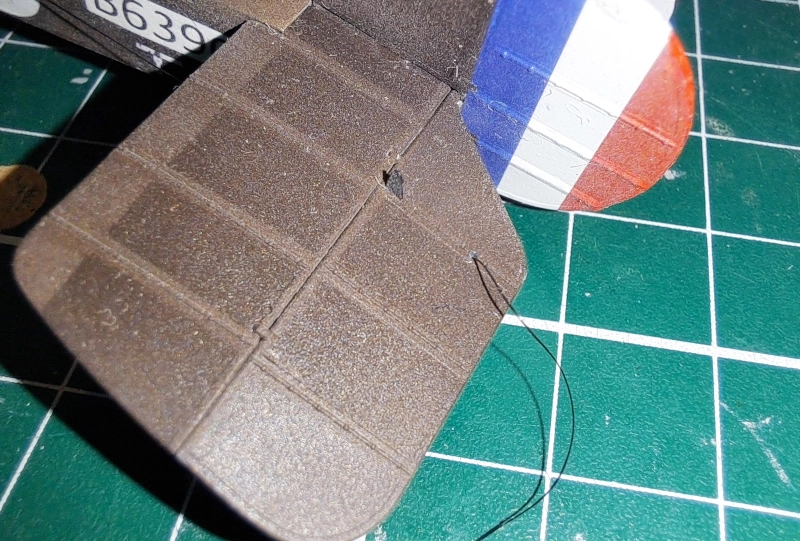

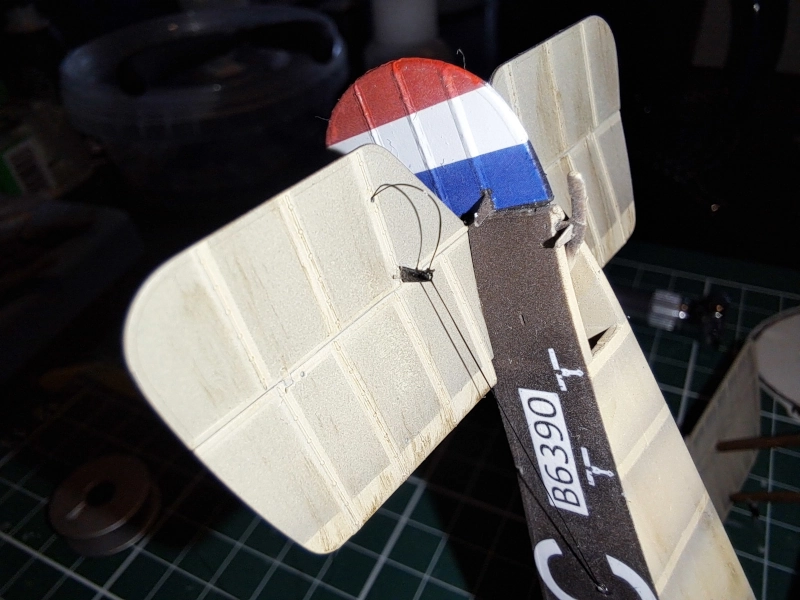

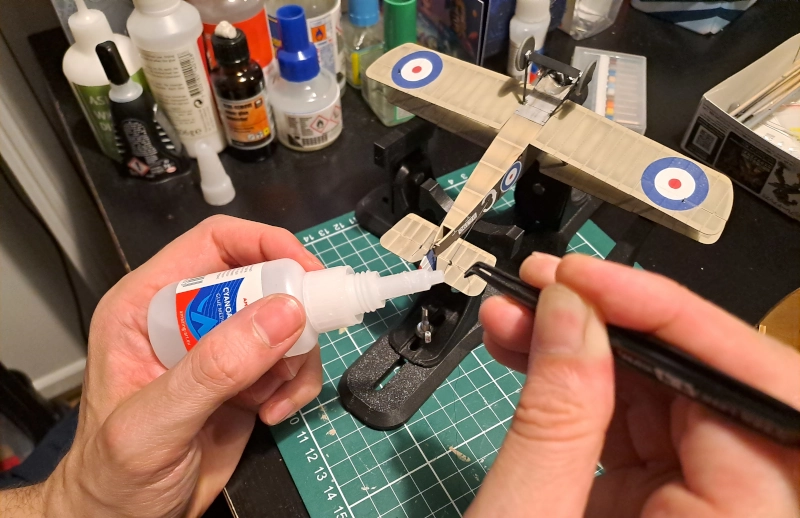

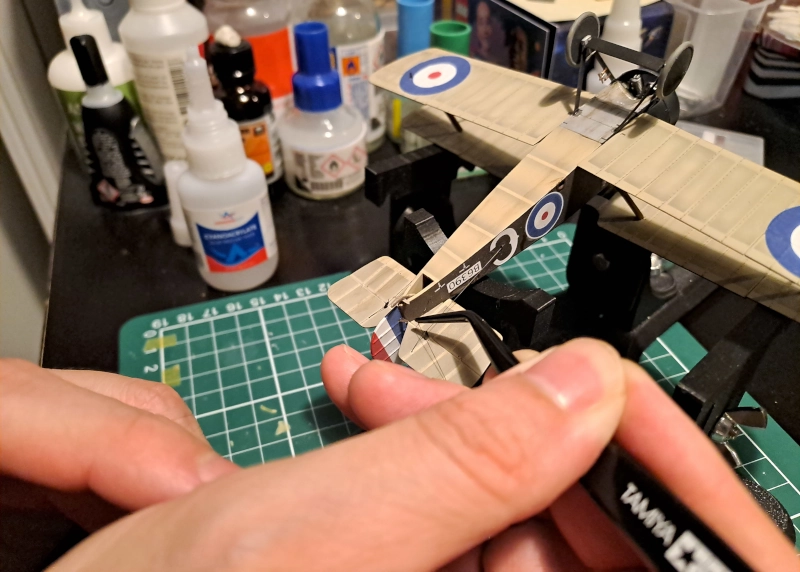
I had a lot of problems getting to attach the rigging lines from point to point. I decided to instead rotate the line around the strut several times and then add some glue. This made the rigging a little more fun to do, but the mess of the glue ruined a lot.

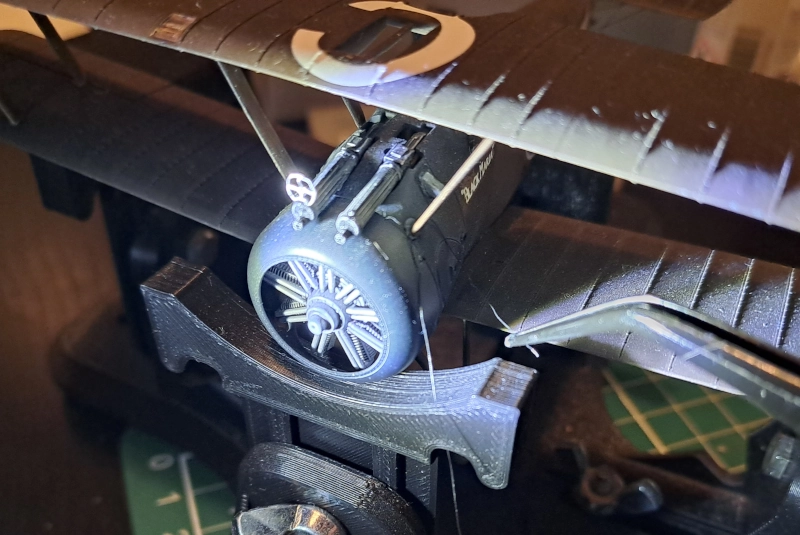

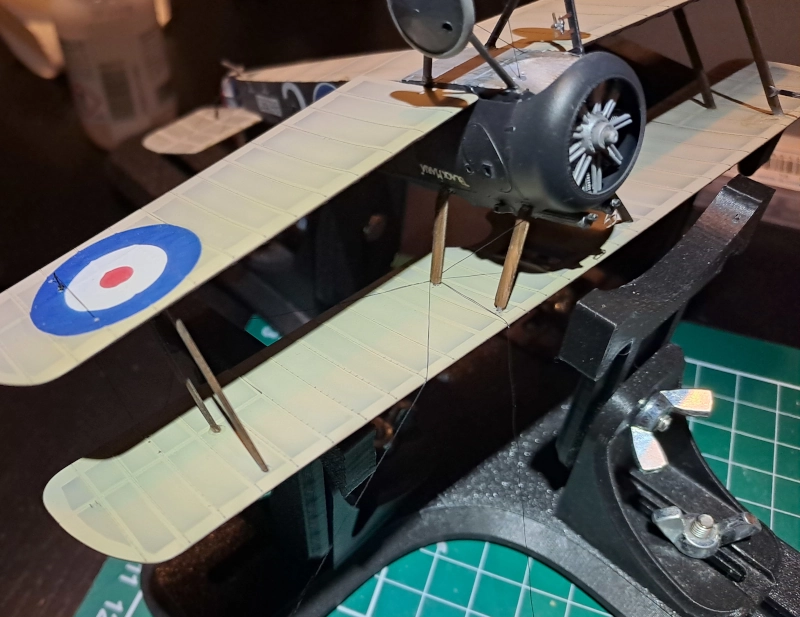

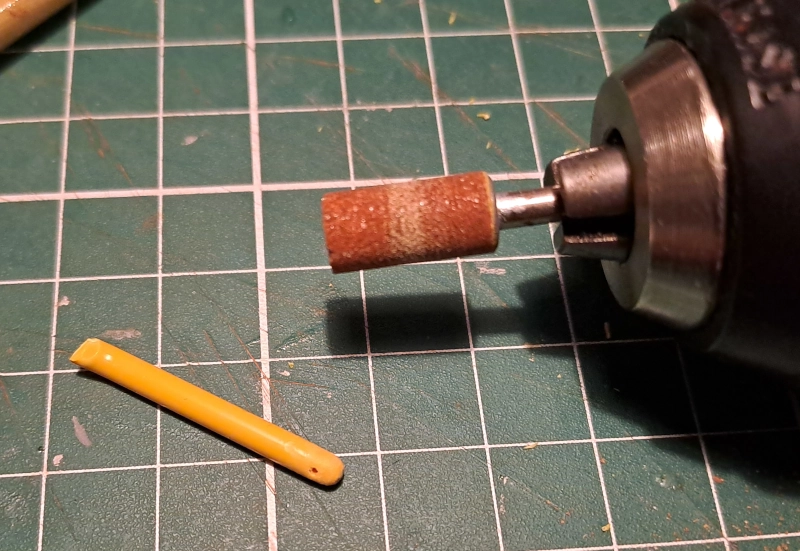
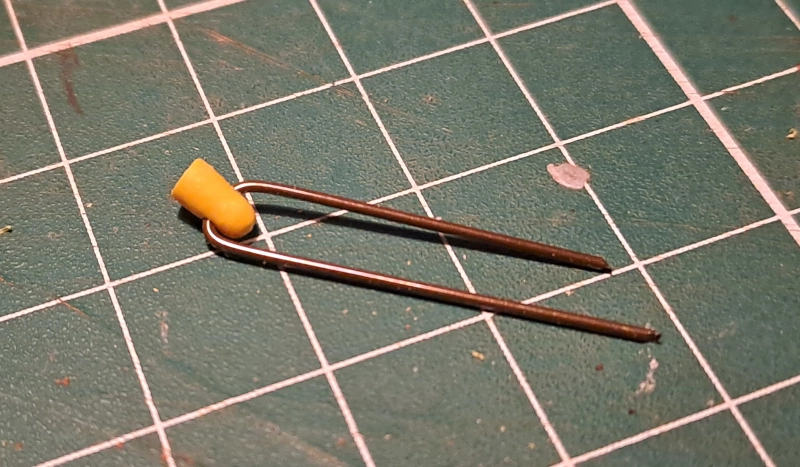
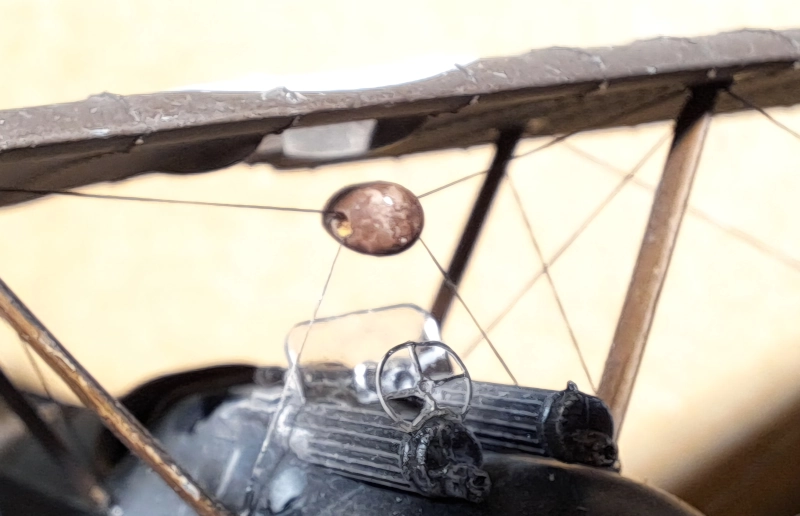
I lost the original part that is supposed to be suspended between the rigging. I think it is something used to tighten the cables. I used a bit of leftover sprue, drilled a hole in it and sanded it down.



Diorama
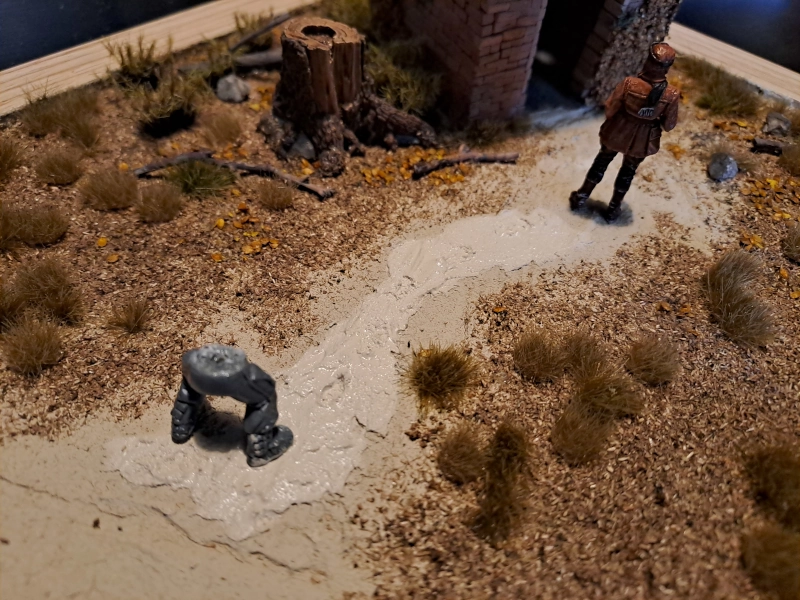
For the base of the diorama, I bought a cheap wooden photo frame from the HEMA, a local store in the Netherlands.

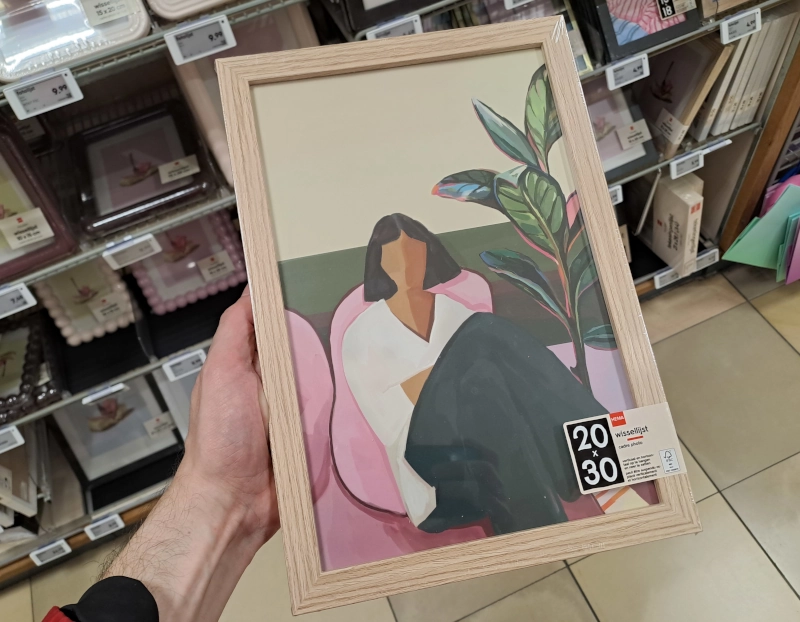
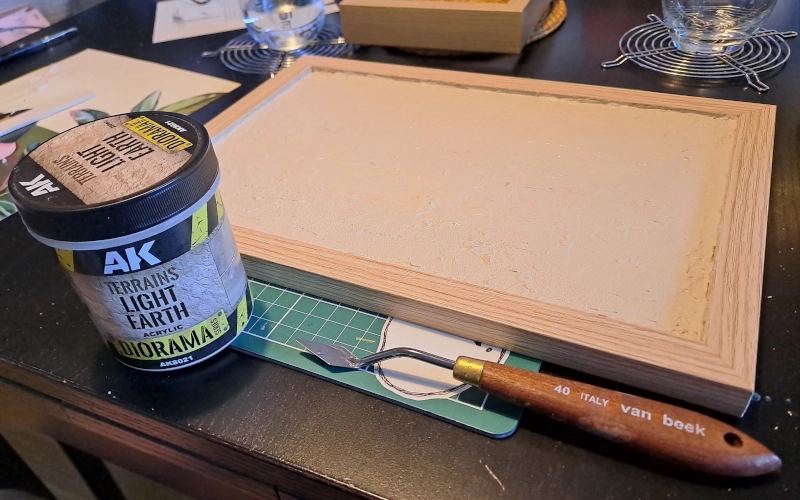
I applied AK Terrain Light Earth on the frame to serve as the earth. The grass will be added later.


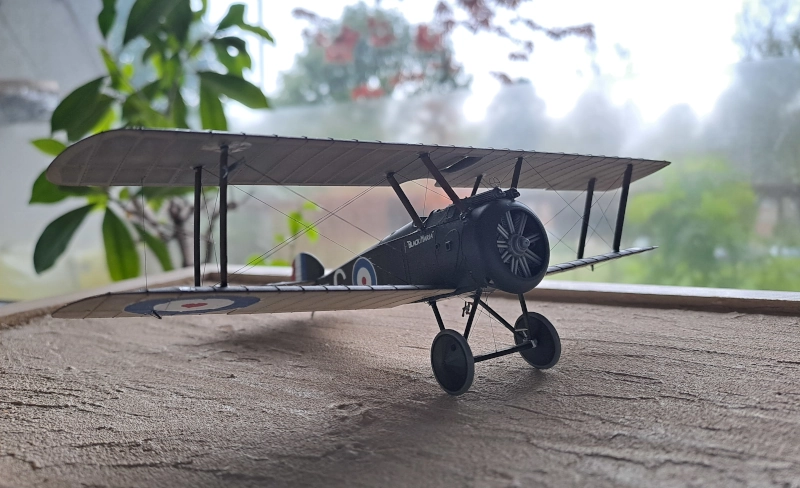
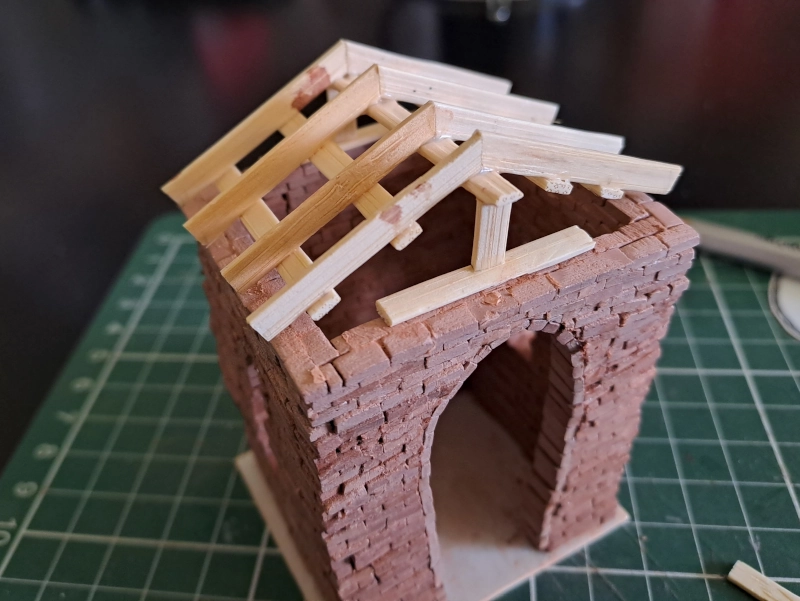
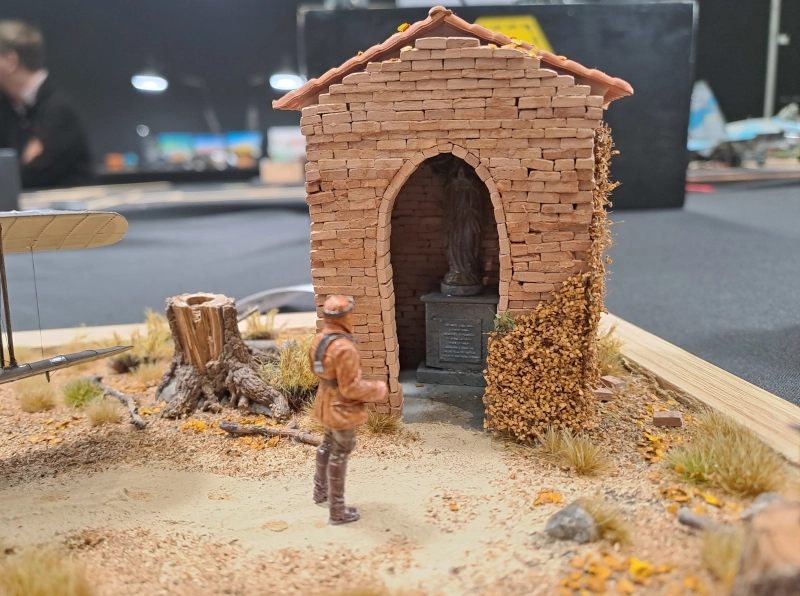
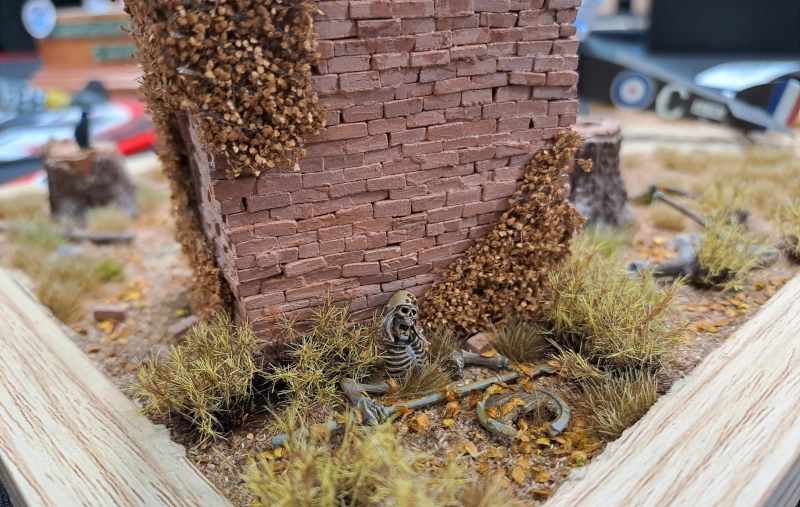
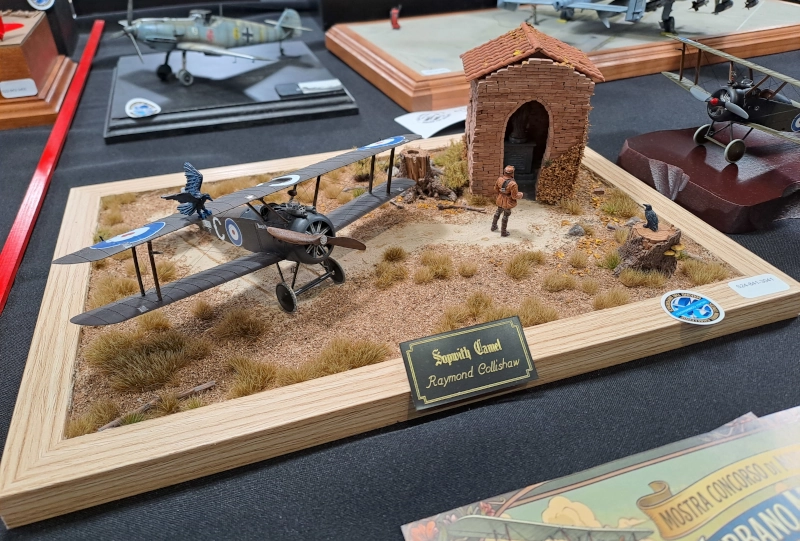
I wanted to add a little Maria chapel on the diorama. Just a simple building to add something interesting.

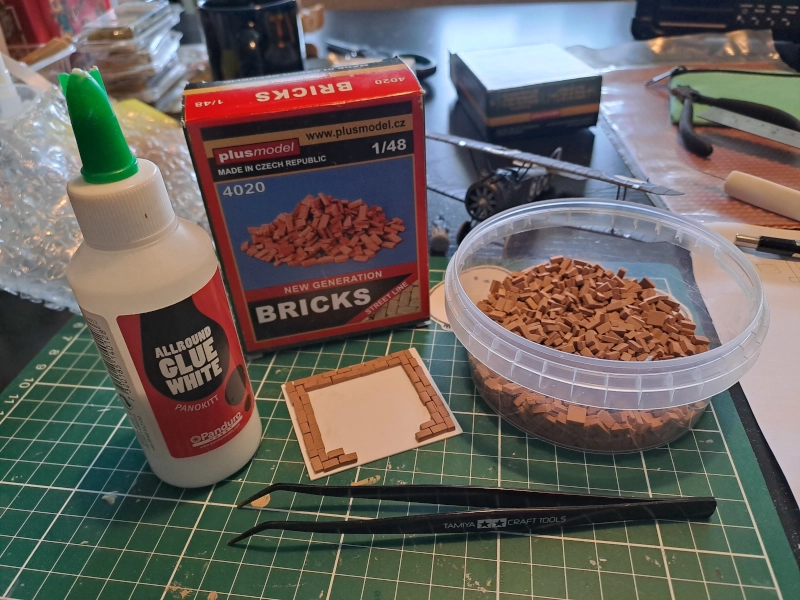
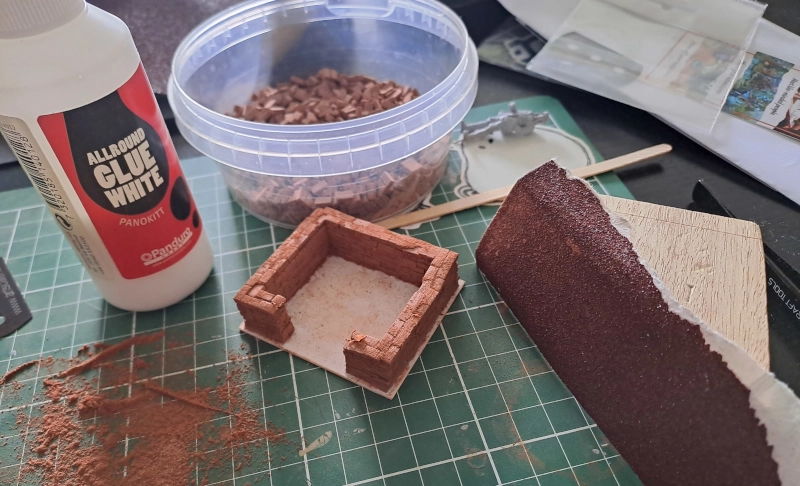
The little bricks are uneven in width and height. To keep the height consistent, I sanded each layer of bricks.


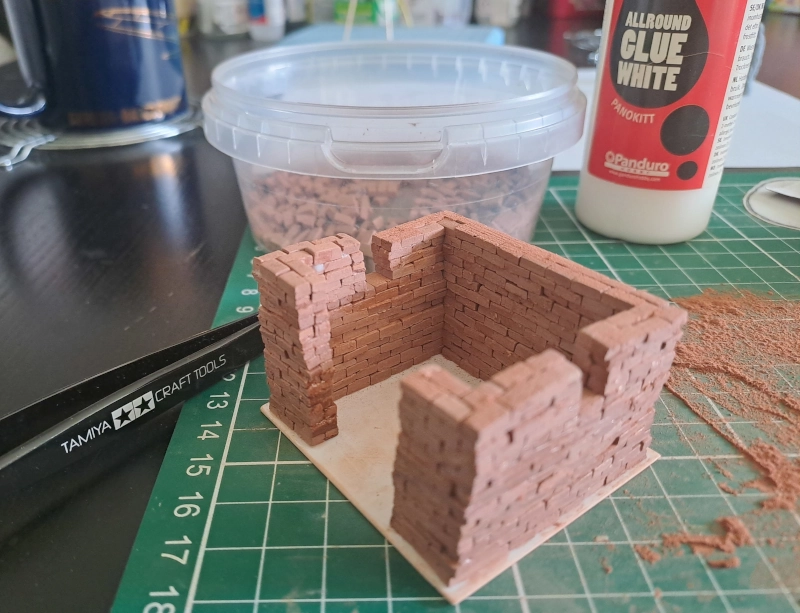

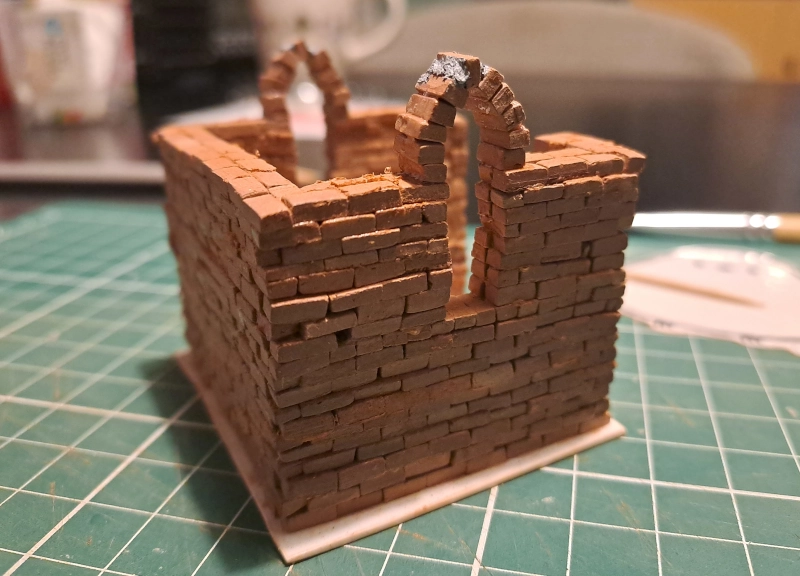
I used a drill to sand the entrance of the chapel, to add a more smooth layer of bricks.

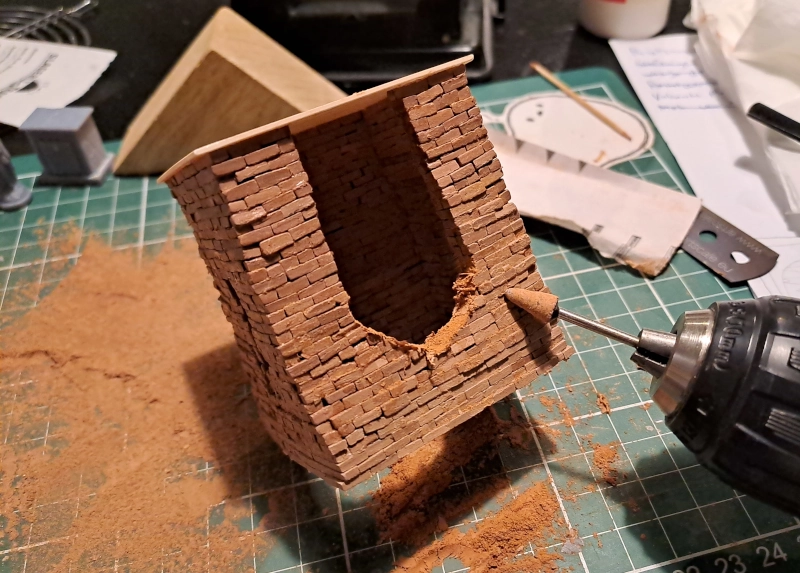
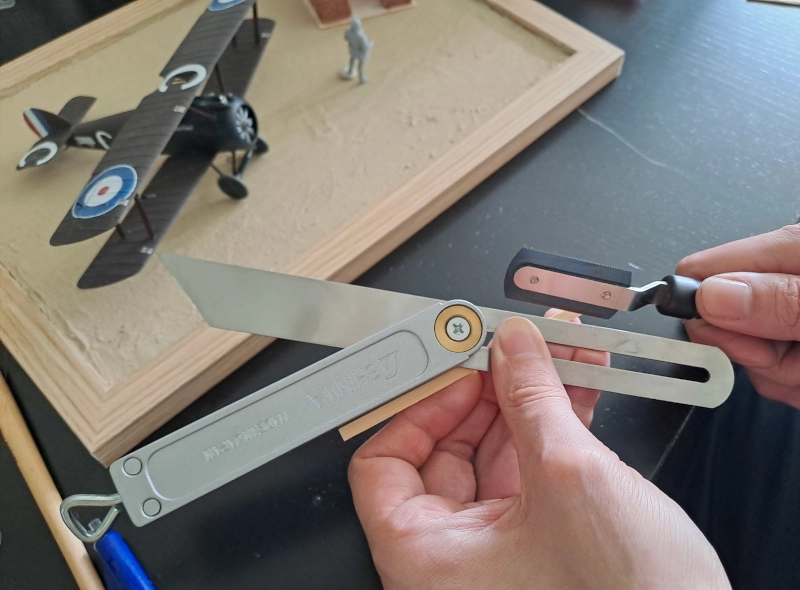
I used some coffee stir sticks to make some supports for the roof. I think these are made of balsa wood. I used a Sliding T-Bevel from Shinwa to saw the sticks all at the right angle.



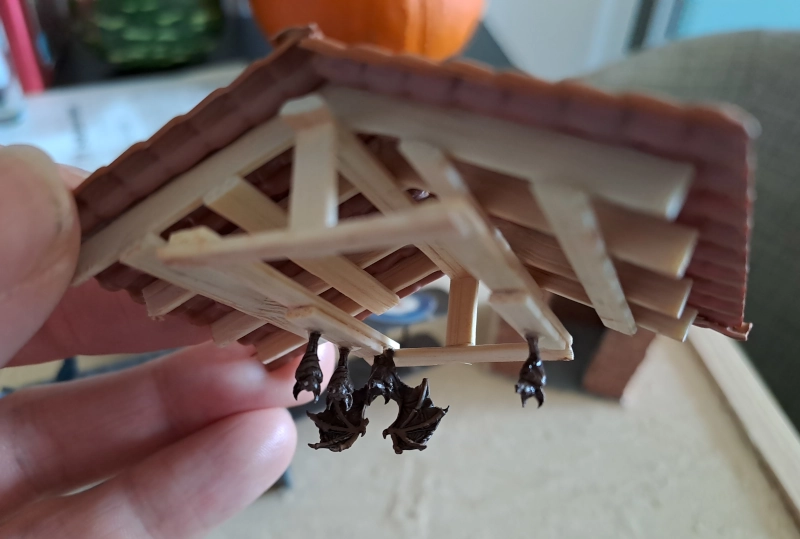
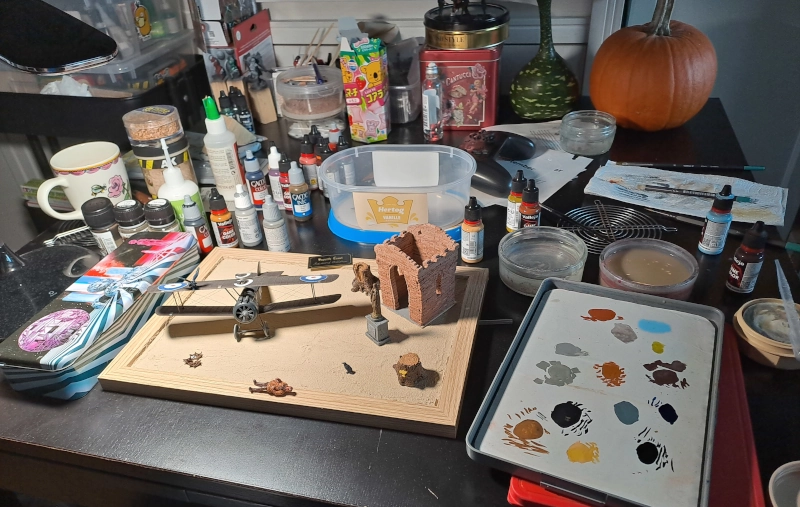
I added a pilot figure as well. The crows, bats and treestumps came from Green Stuff World. I added barren grass tufts of slightly different brands and colours to make it a little more interesting.





Transport
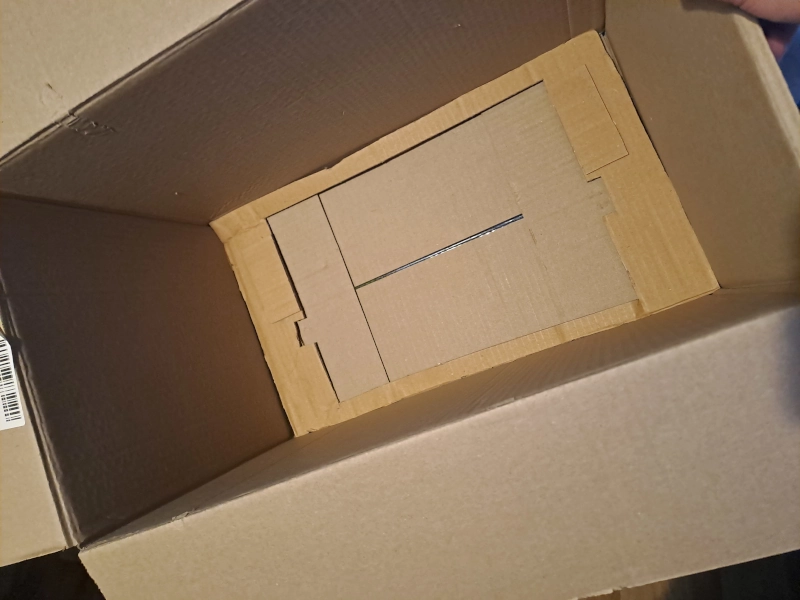
Also important, in order to get the diorama safely transported to the Scale Model Challenge (SMC) in Veldhoven, I cut some cardboard to make sure it cannot move while carrying it.

Scale Model Challenge 2026
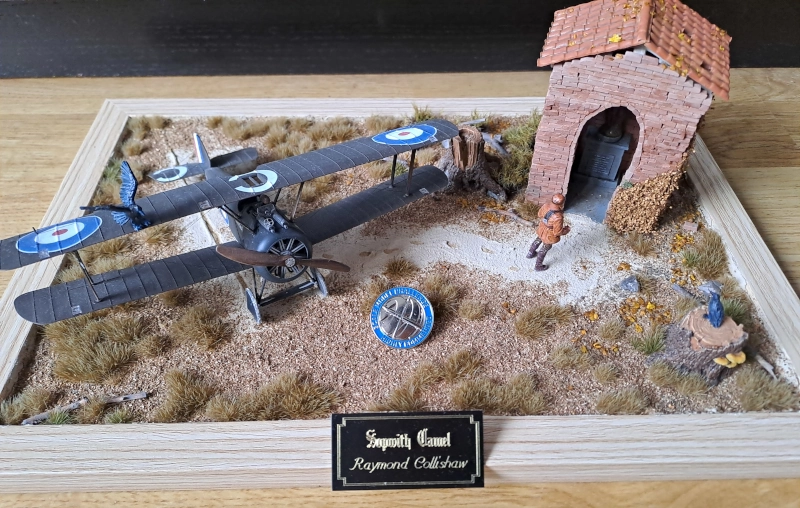
I participated in the Scale Model Challenge 2026, exactly 1 year after purchasing this model kit from Eduard at SMC 2025. I managed to win a highly commended pin. Although, I made a lot of mistakes on this model, especially the glue. But maybe my additional work managed to save the whole thing just a little bit. Nevertheless, this Sopwith Camel model was the most difficult I made so far and also greatly inspired me to continue making more world war 1 aircraft in the future.
The little nameplate came from: nameitplates.com, a shop in the United Kingdom.

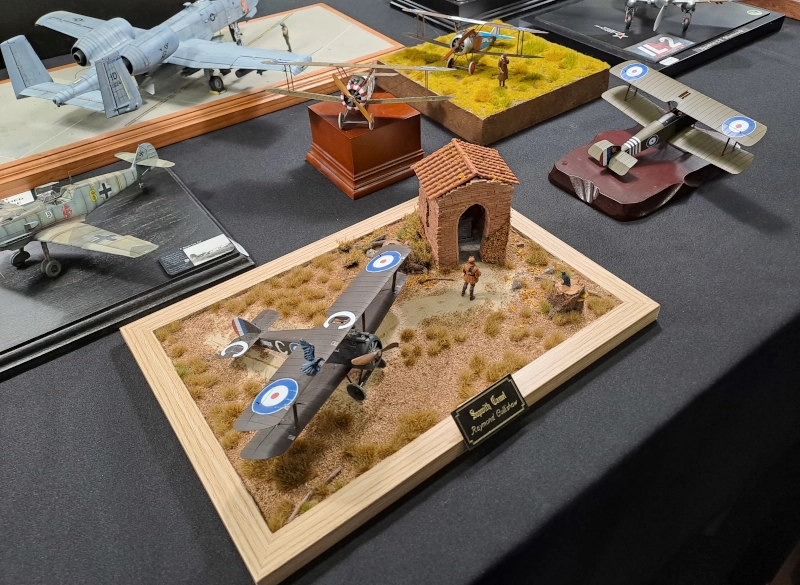



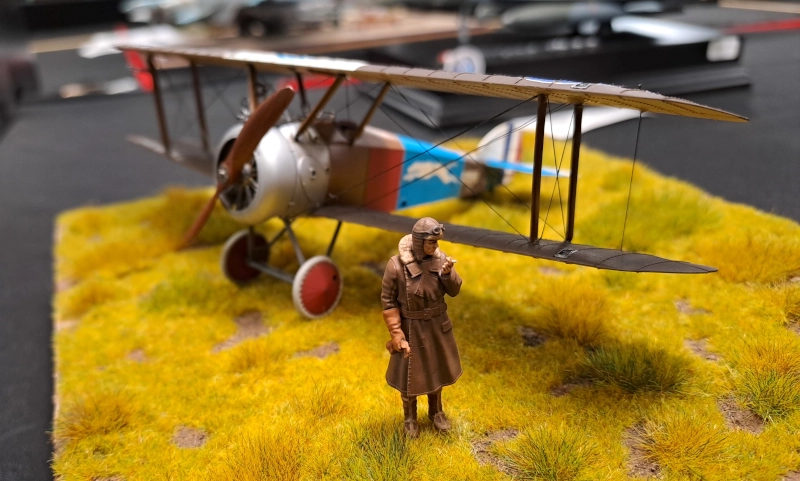
This Sopwith Camel was made by Mr.Paint from SIG Plamo, which also won a Highly Commended pin.

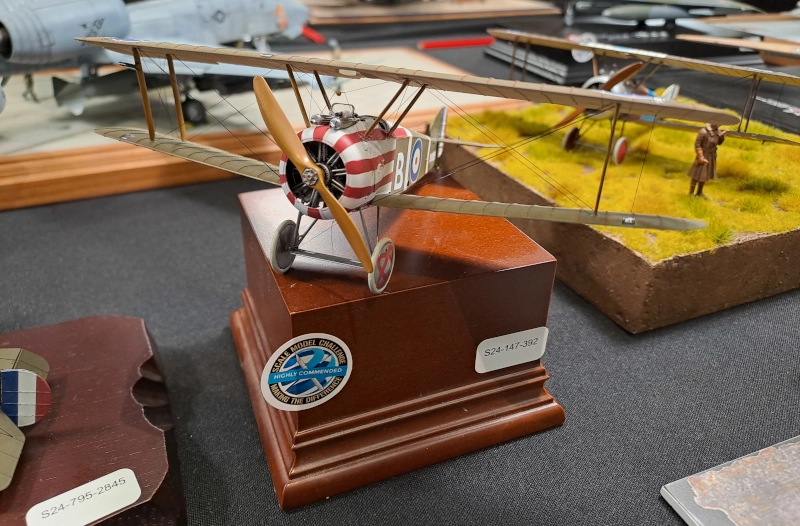
And this Sopwith Camel, made by Mr.Sprue from SIG Plamo, won a Bronze medal!

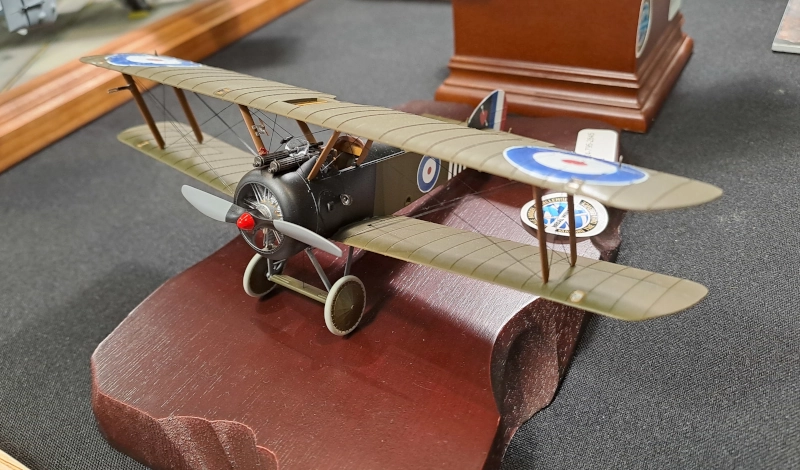

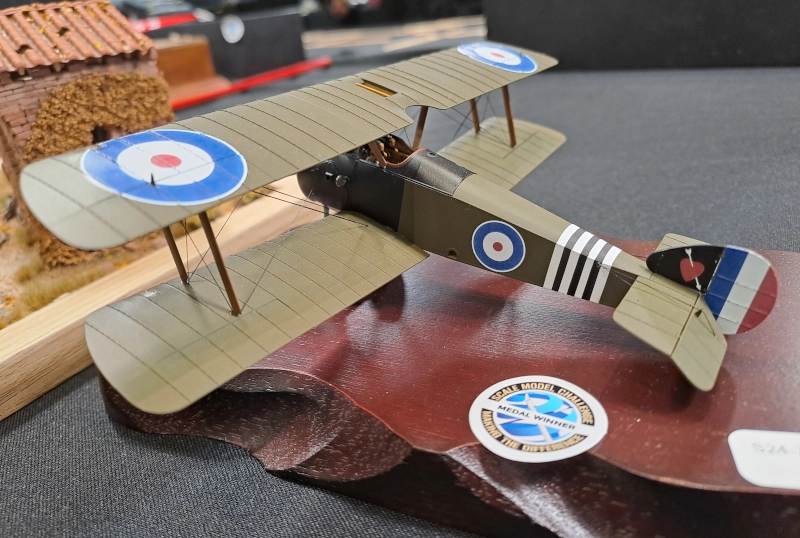
And if you want to know what a Silver medal Sopwith Camel looks like, then enjoy seeing this one made by Mr.Plamo from the SIG Plamo group.

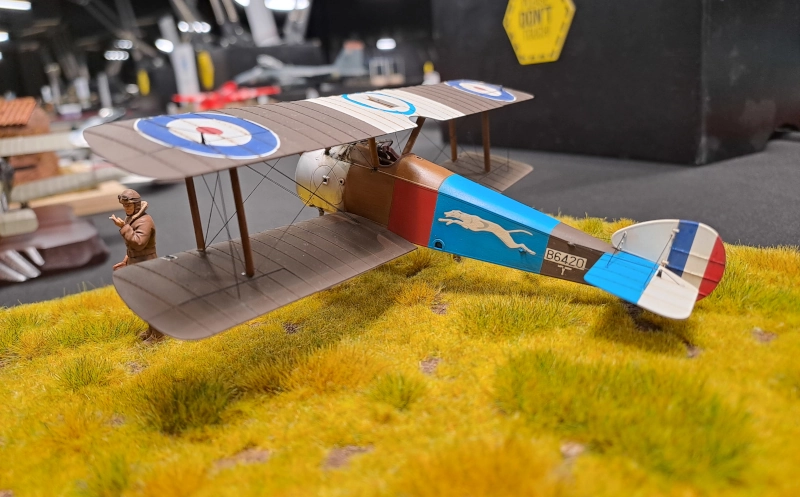

Now that I have the HC pin, the next goal has to be a medal. Thank you for reading my article.

Externe links
- Wikipedia - Sopwith Aviation Company
- Wikipedia - Sopwith Camel
- Wikipedia (Engels) - Raymond Collishaw
- Wikipedia (Engels) - Bentley BR.1 rotary engine
Terug naar plamo kits